Monday, December 1, 2008

Major Update on the 1/72 B-Wing


Sorry I haven't updated in so long, things here have been crazy.
I've made some pretty notice-able changes to the B-Wing. When looking at the large pictures please remember that they show ALL of the flaws.

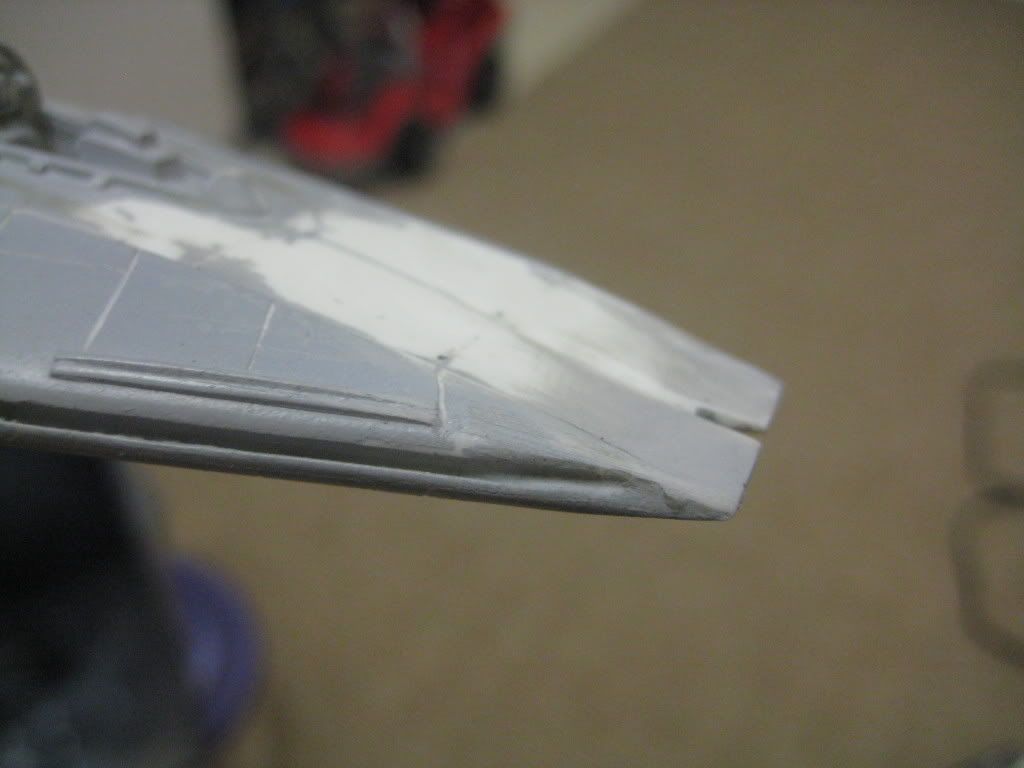
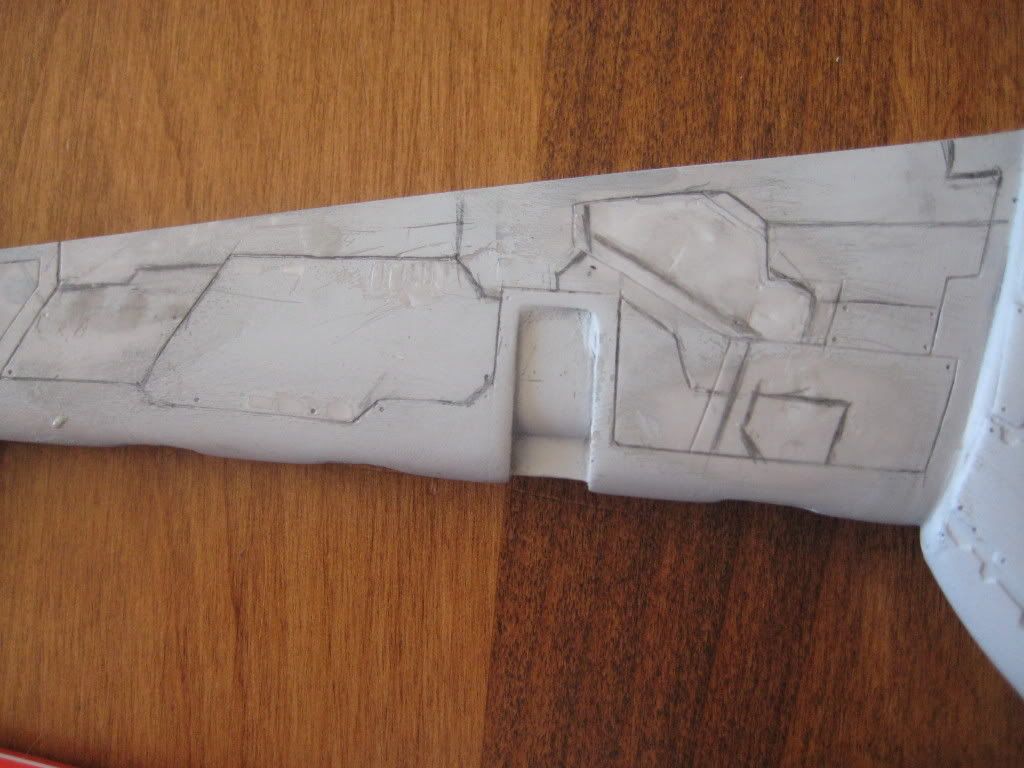
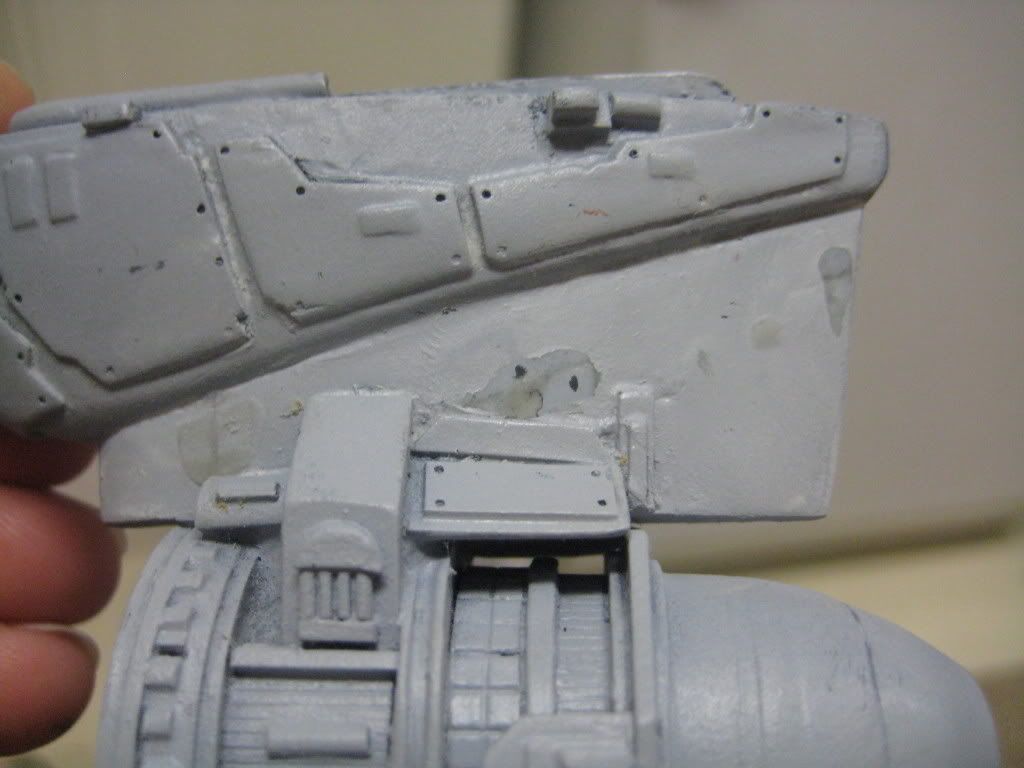
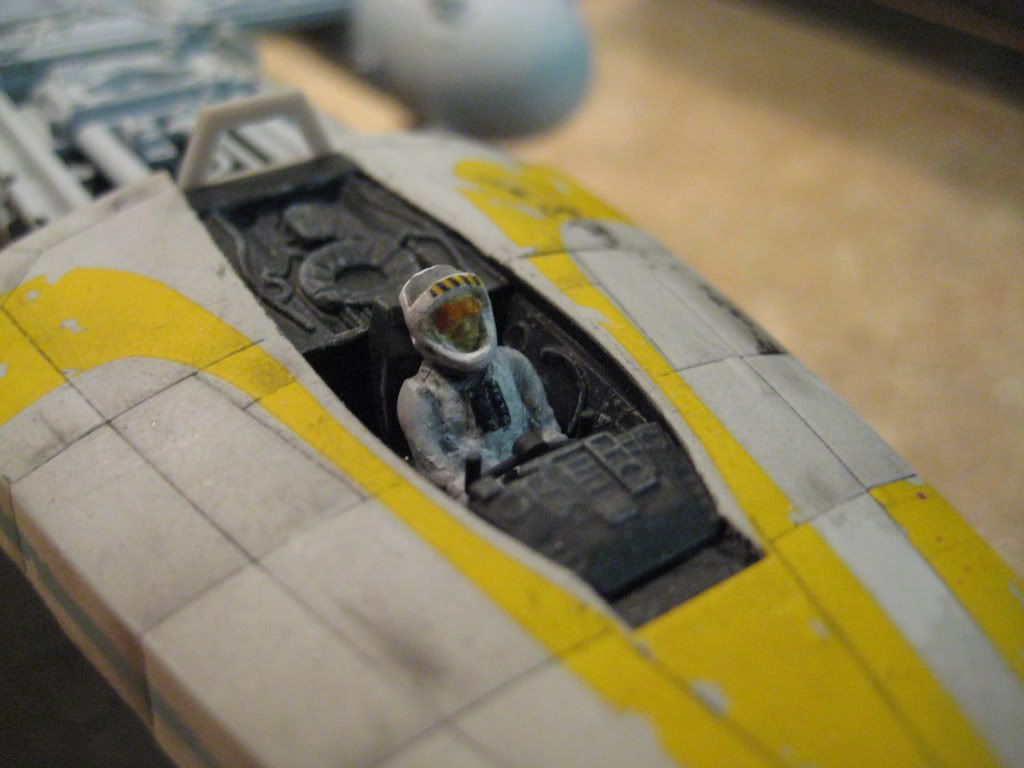
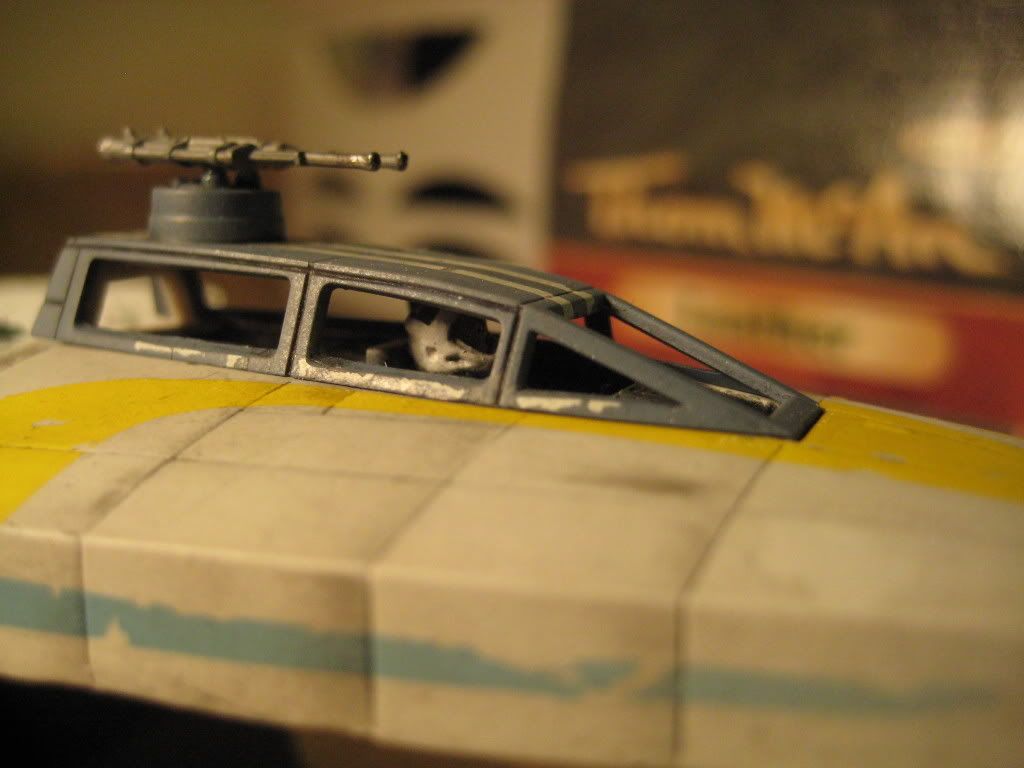
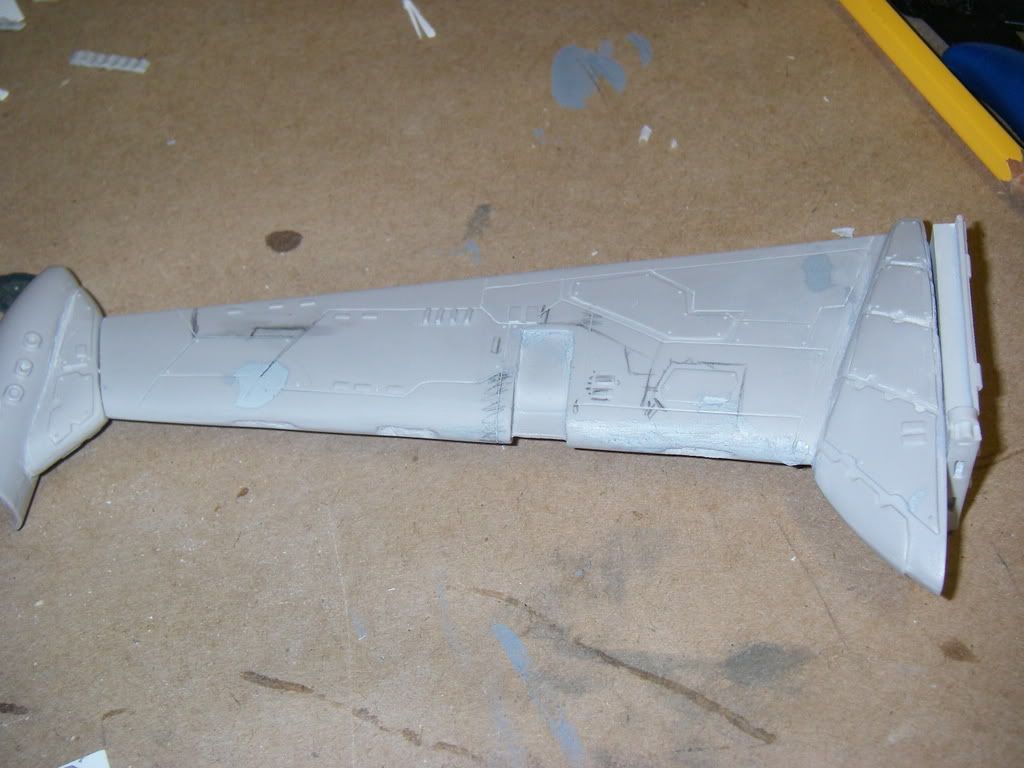
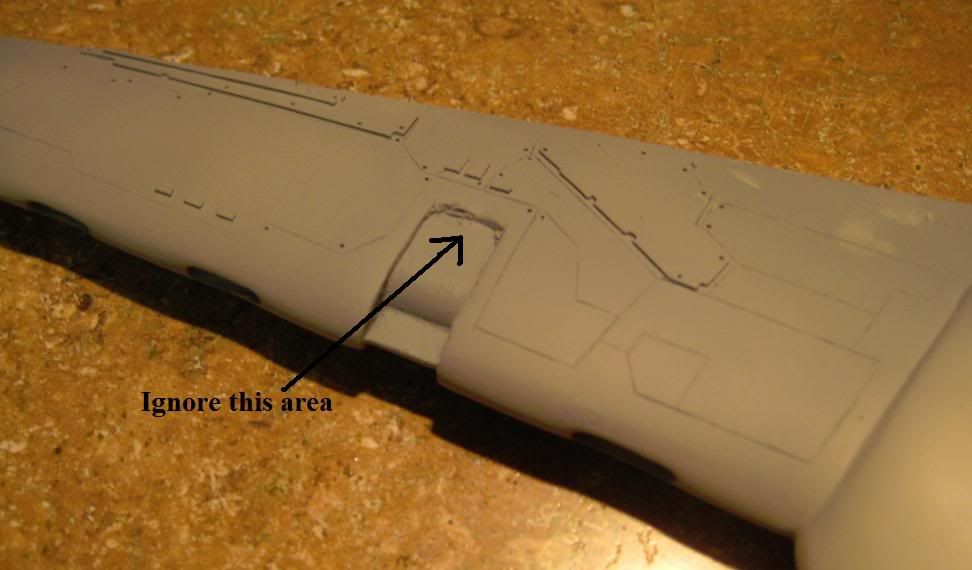
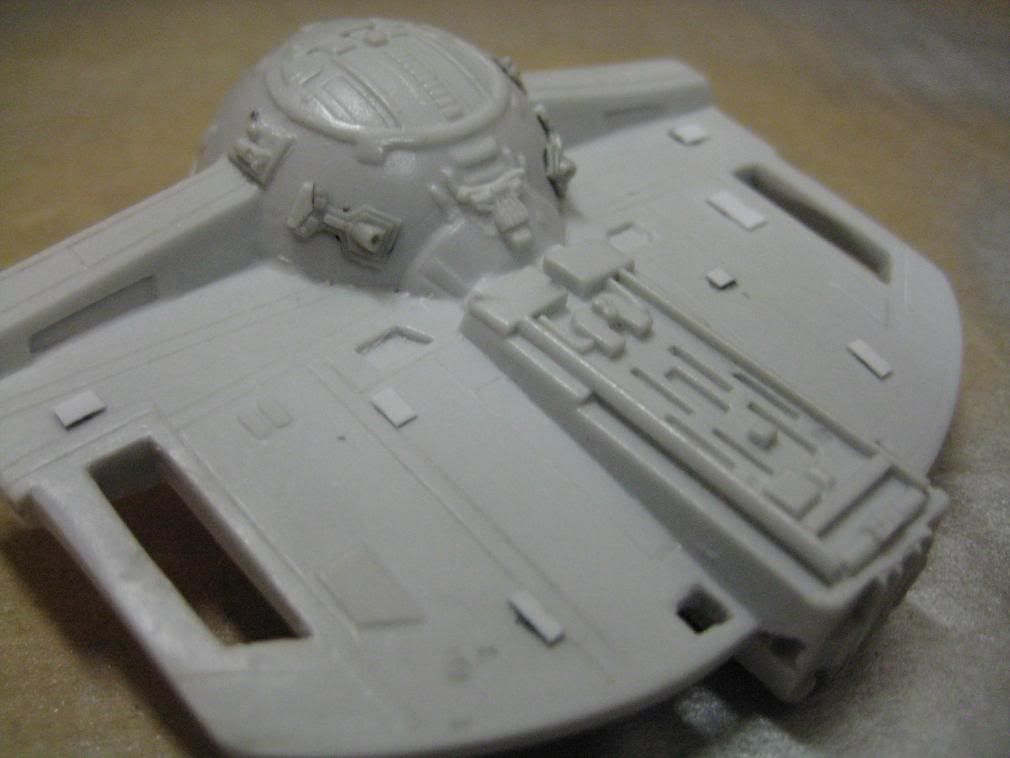
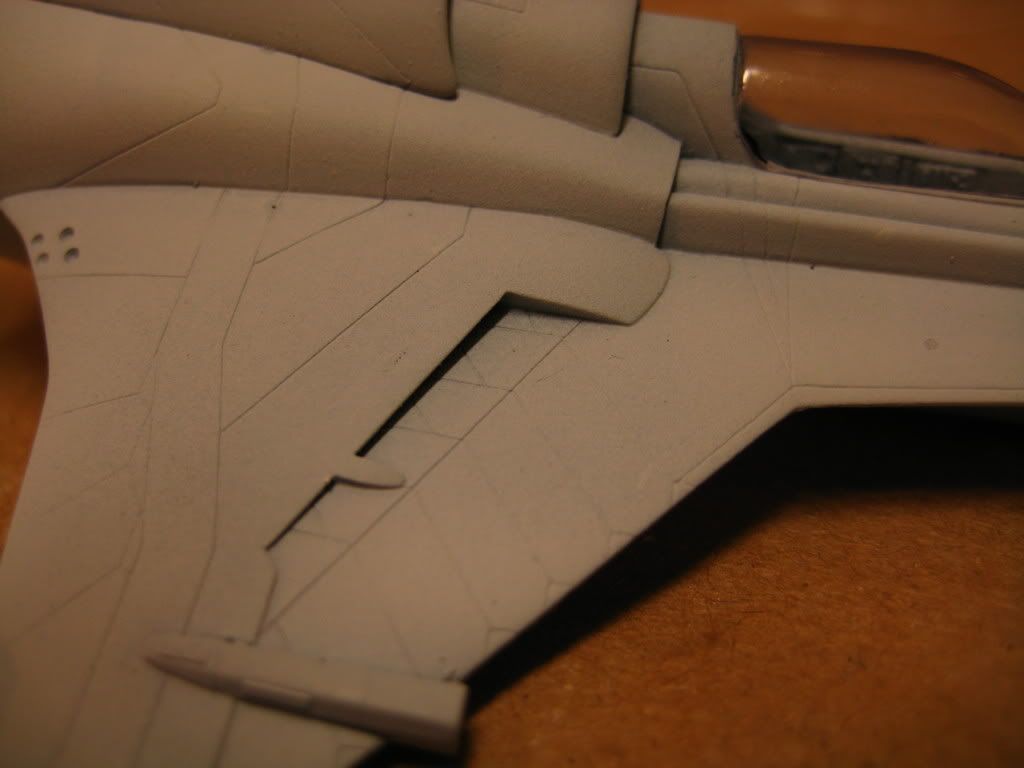
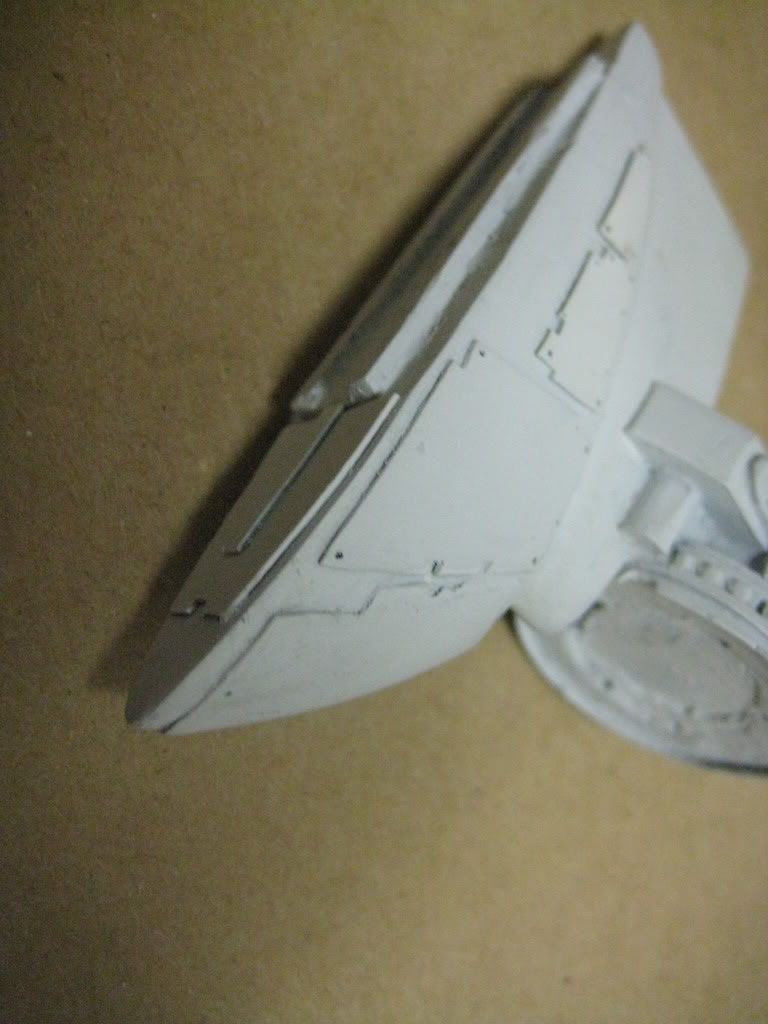
I've added lots of detail to the main wing.

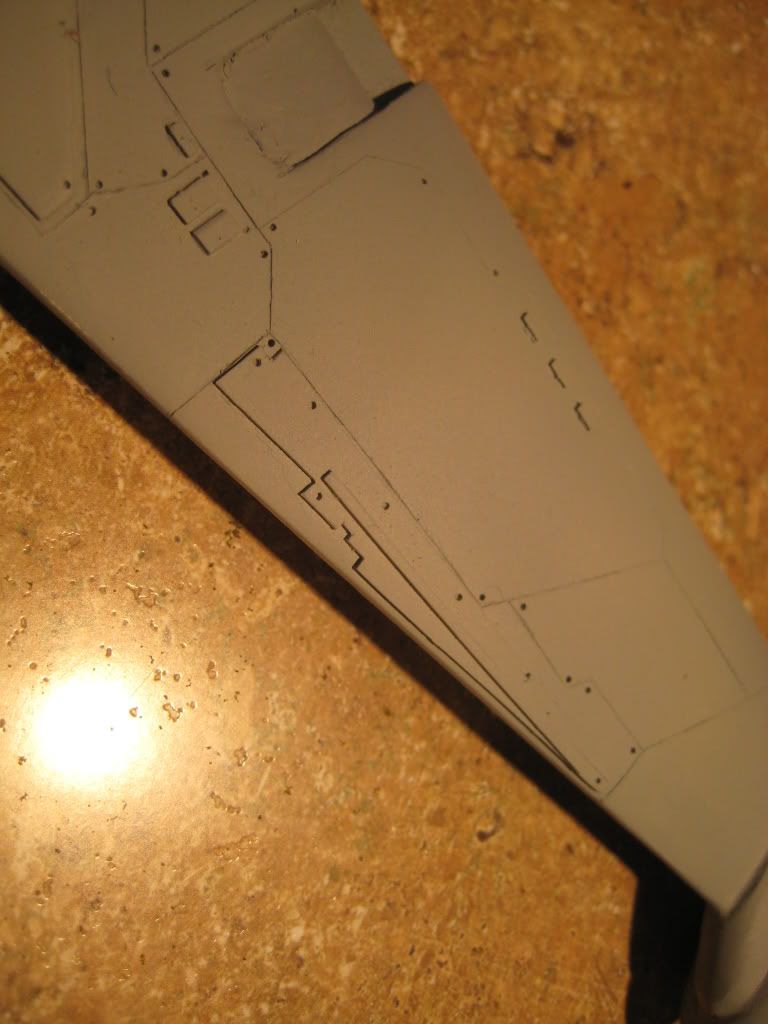
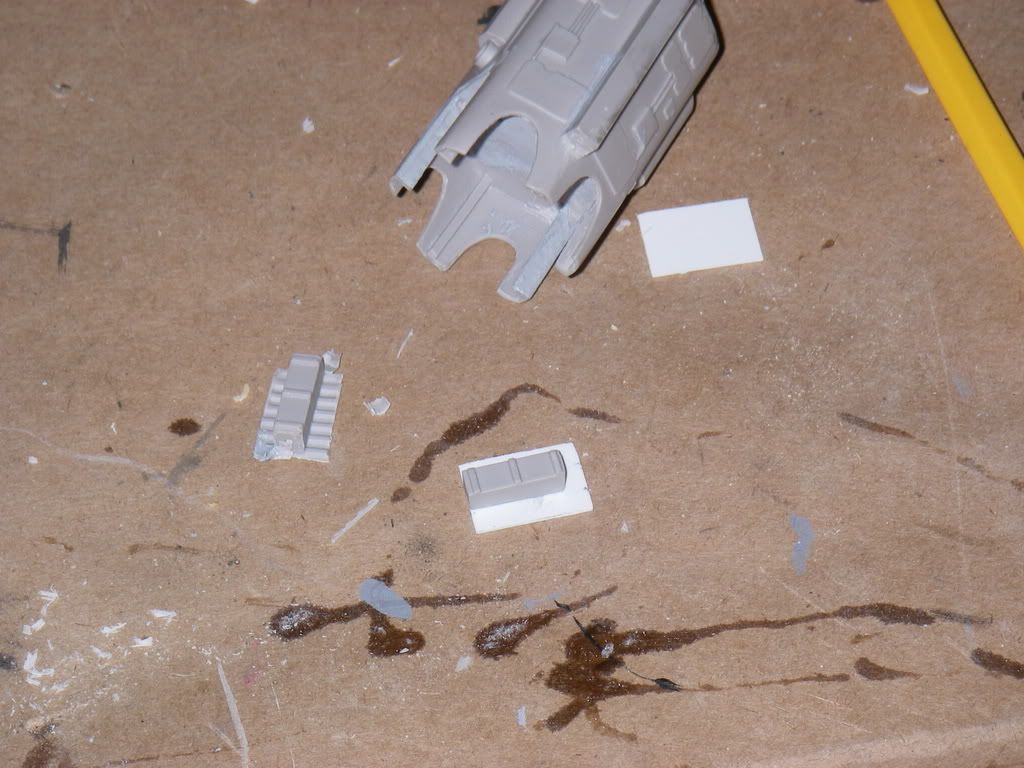
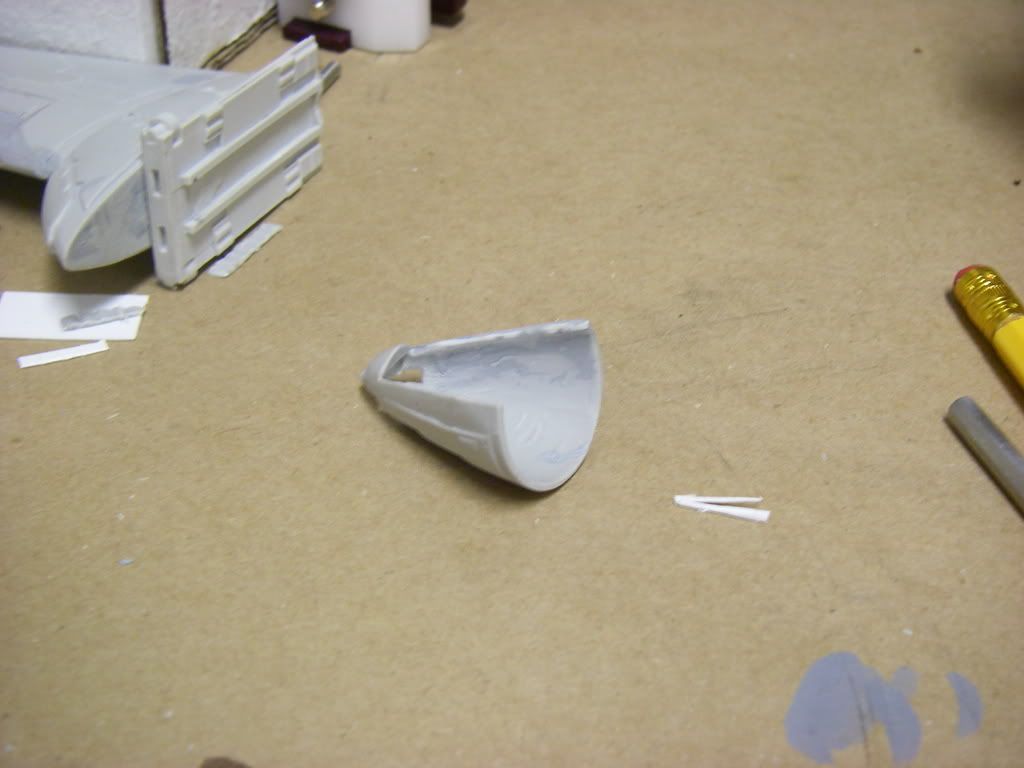
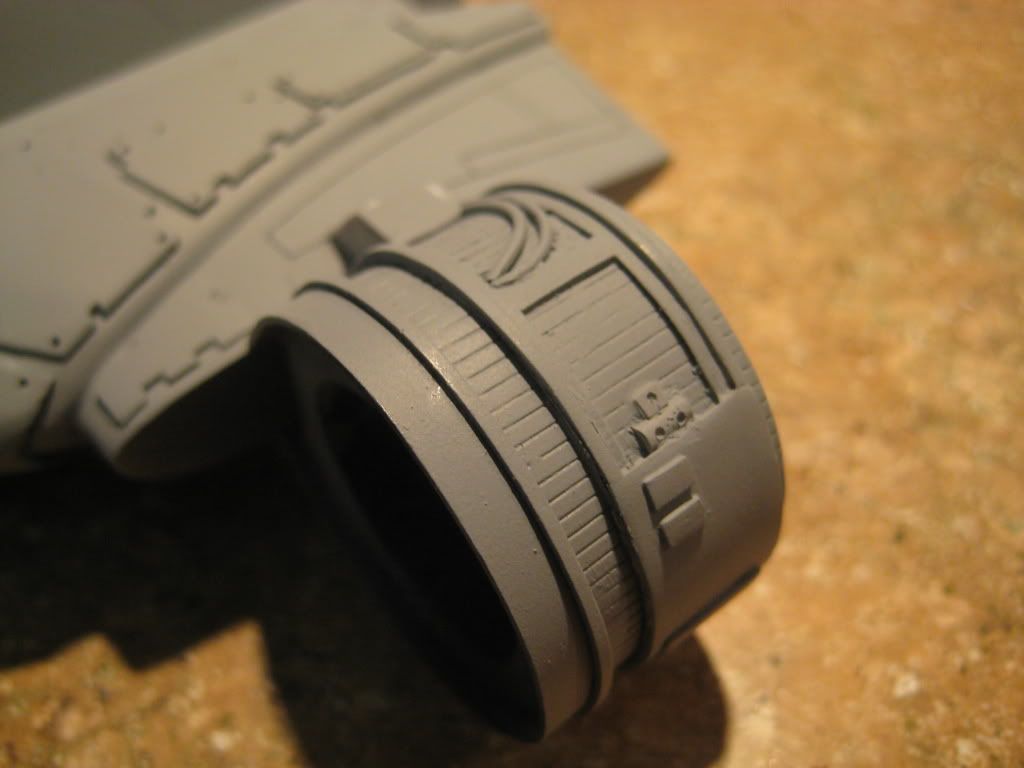
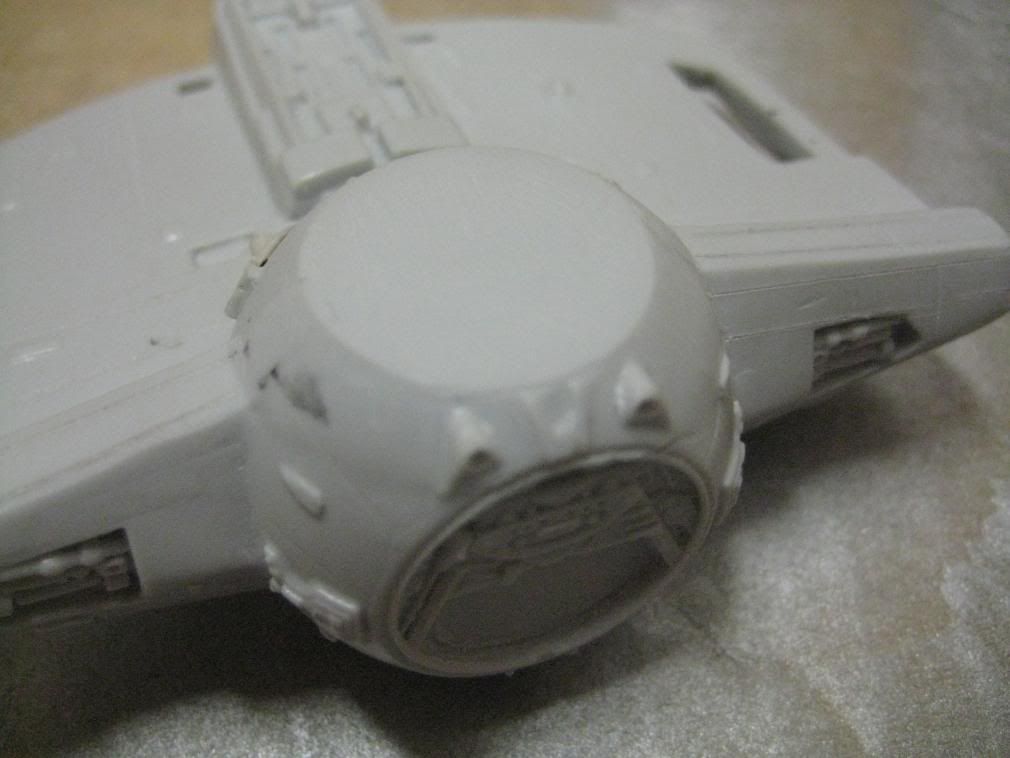
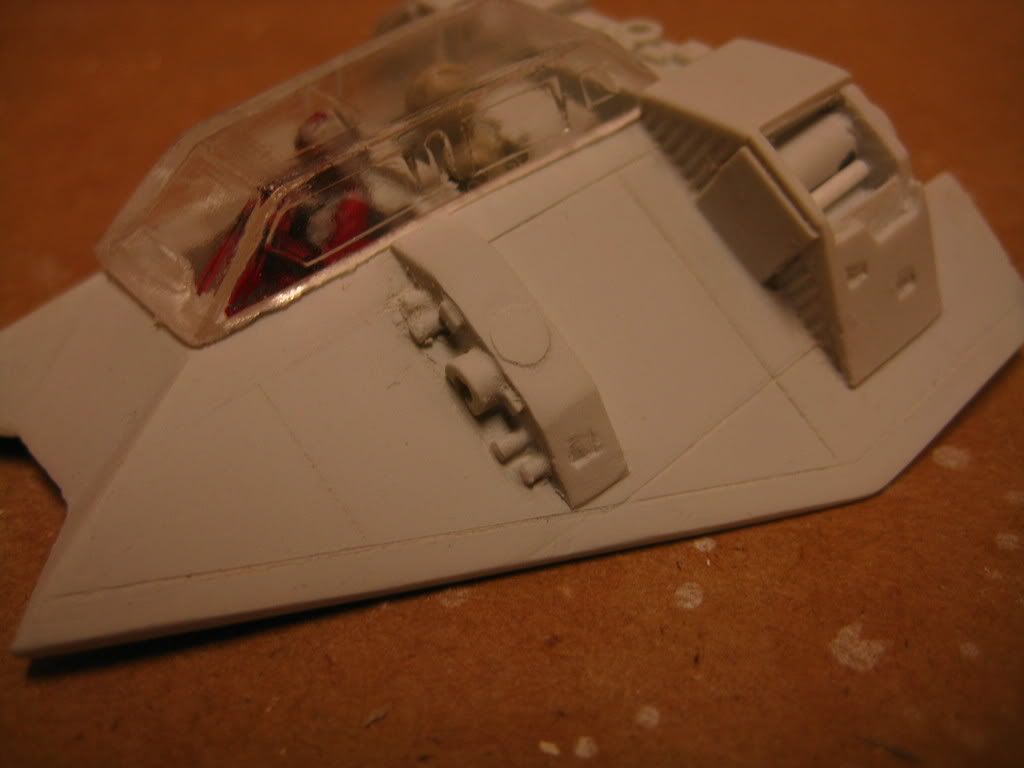
This area in almost completely done. I did most of this part from scratch. Compare this section to what I did in my last update.


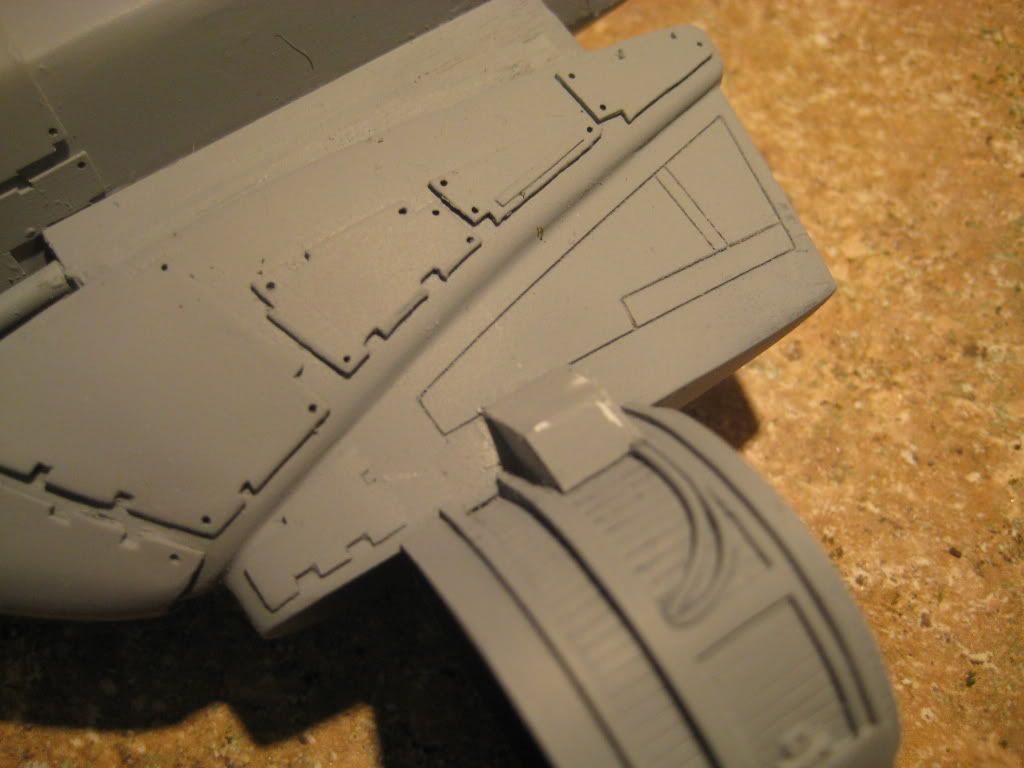
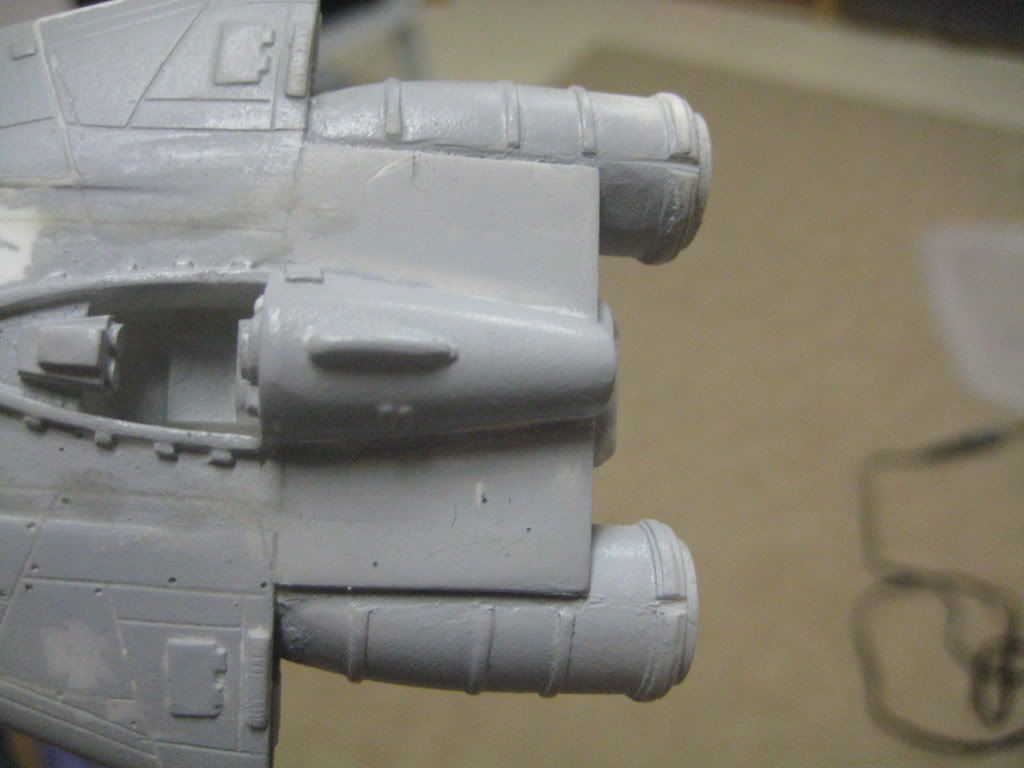
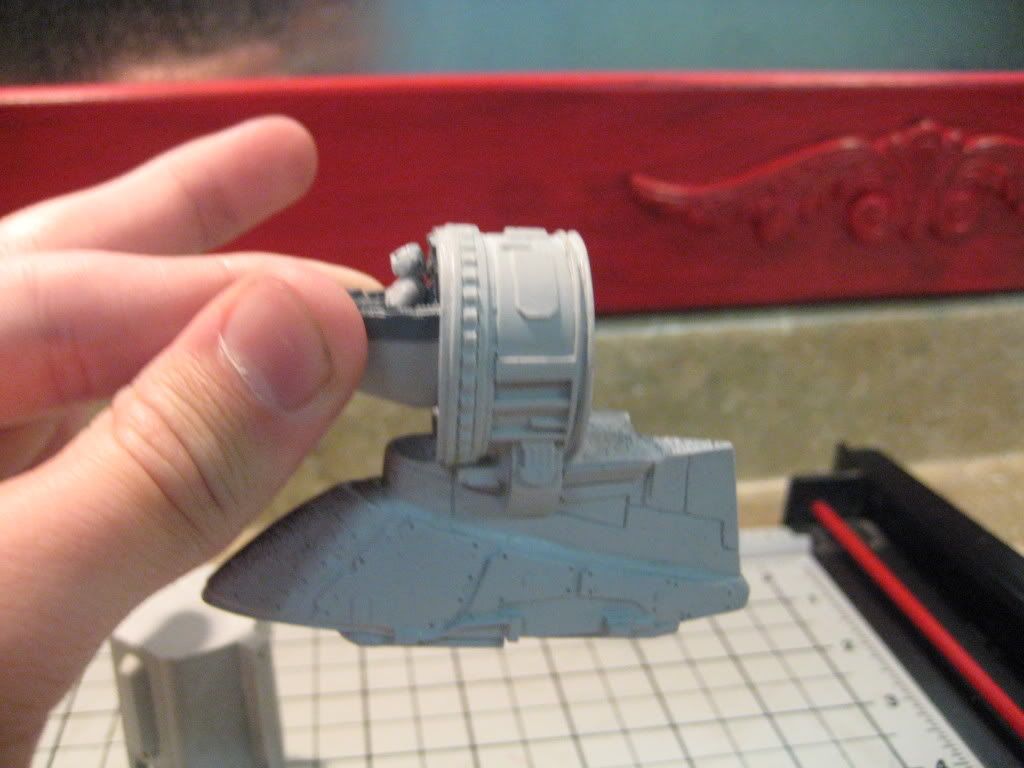
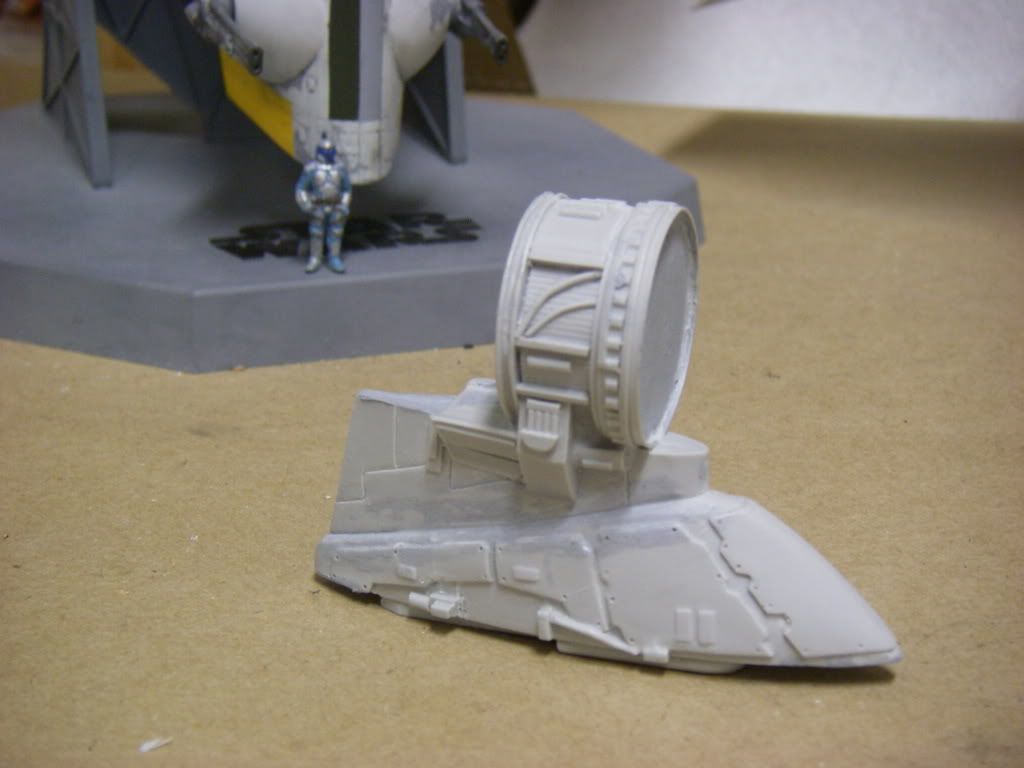
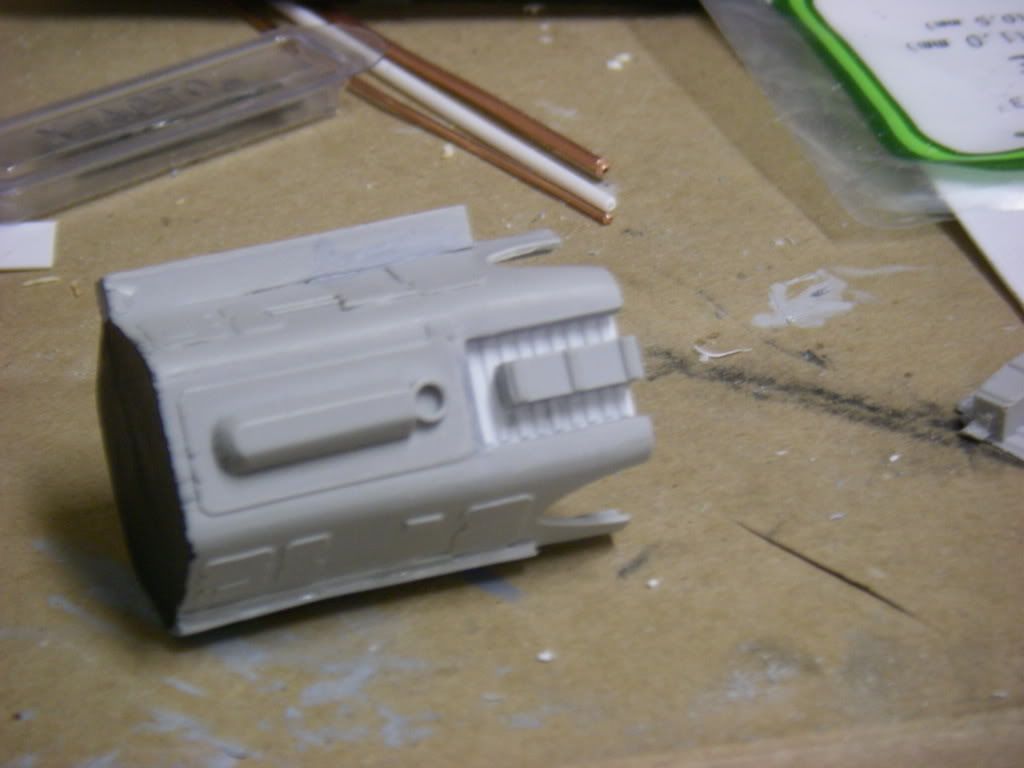
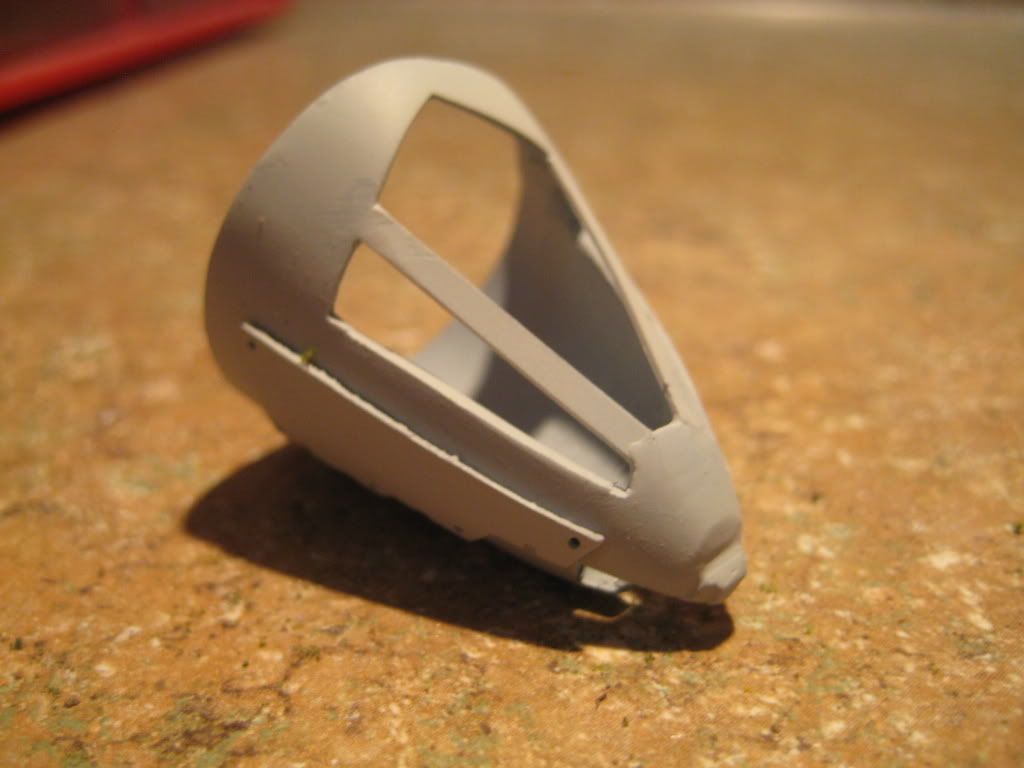
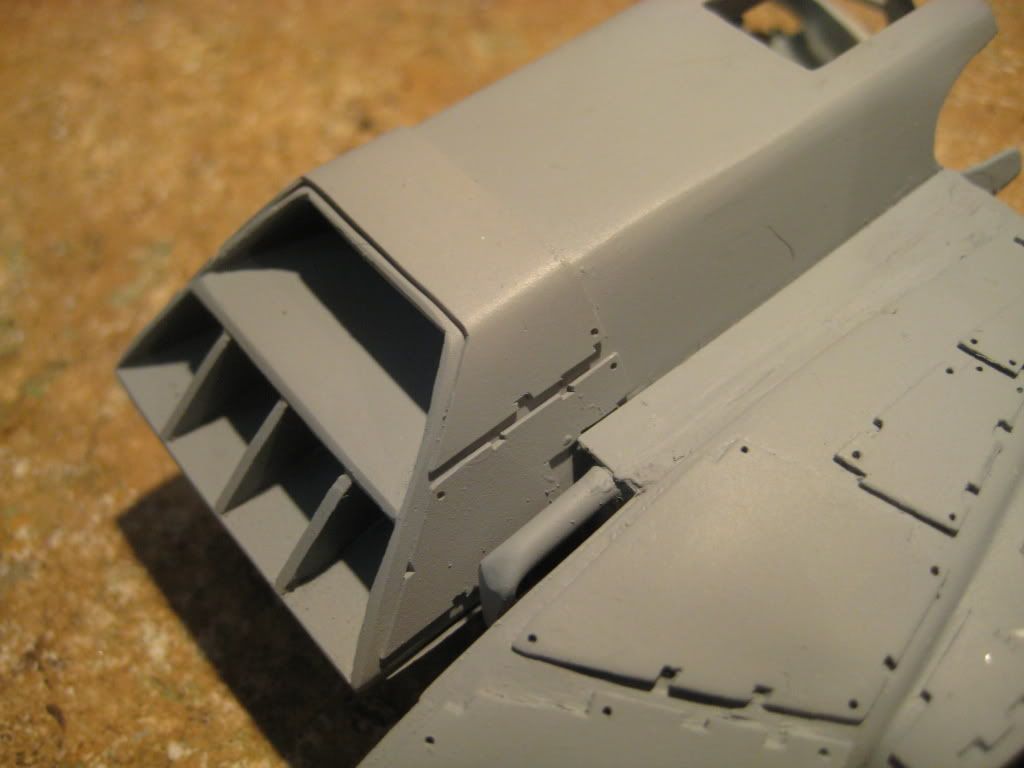
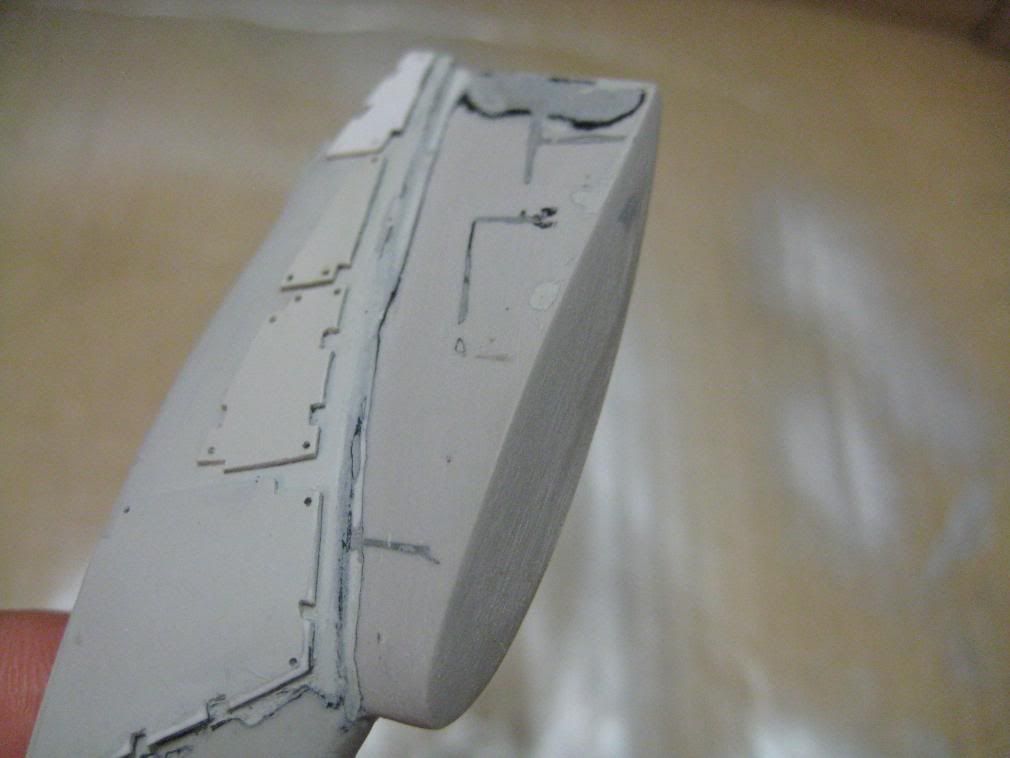
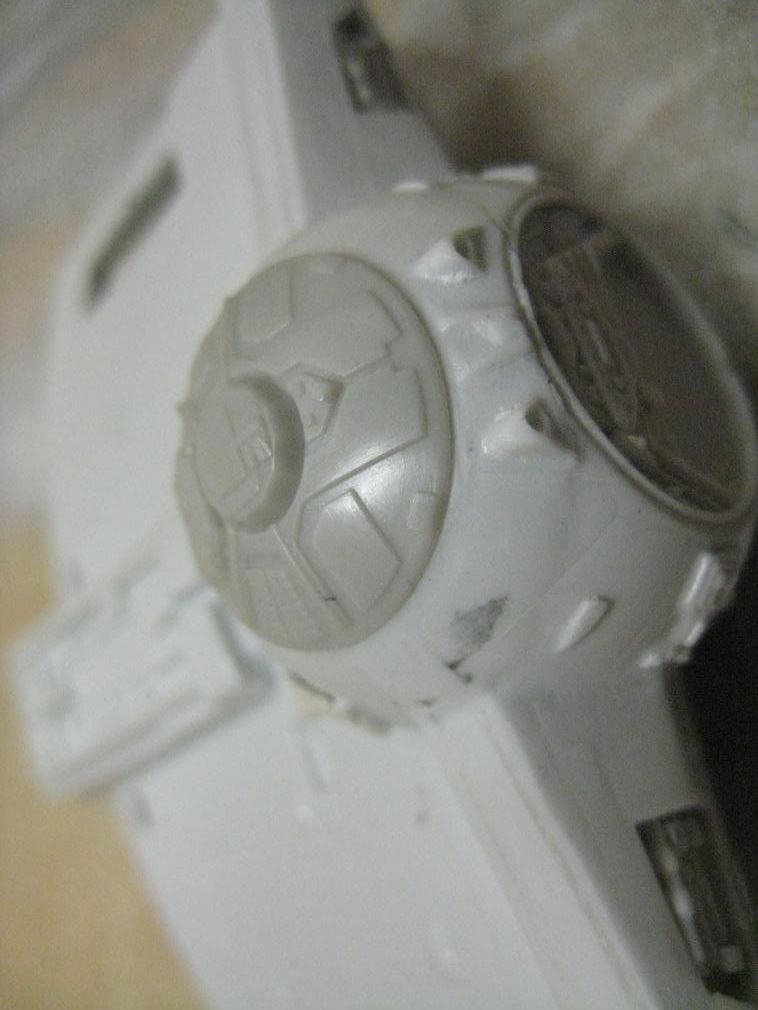
I've started to add some plating to the engine. This image makes it look a little distorted.
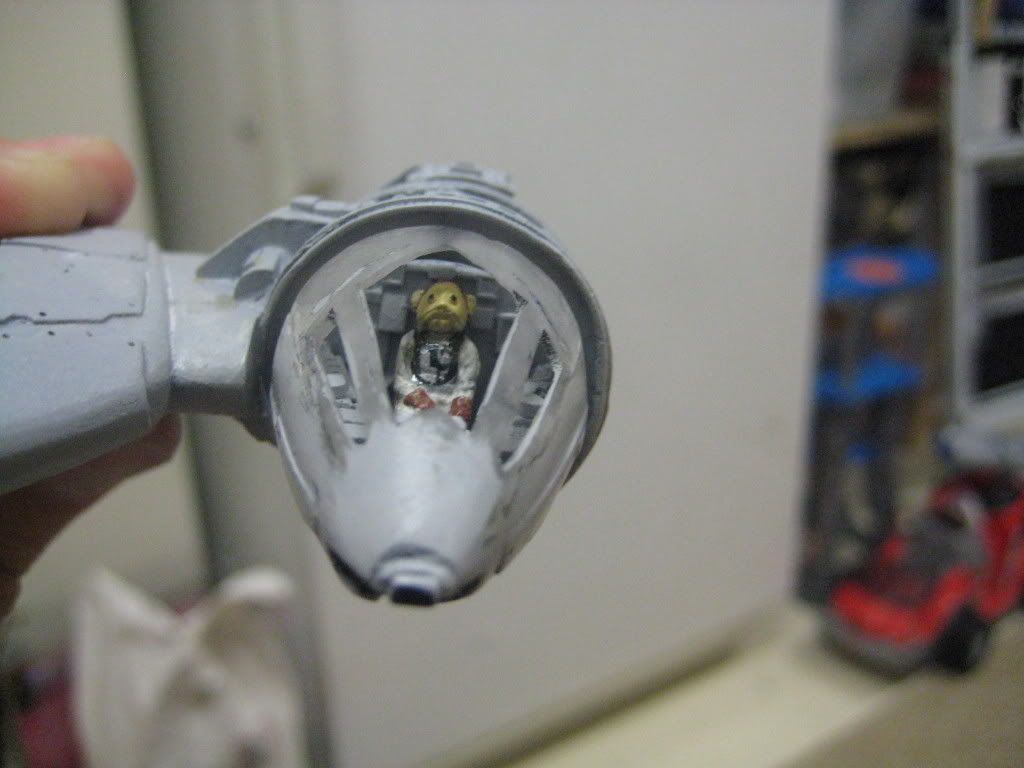
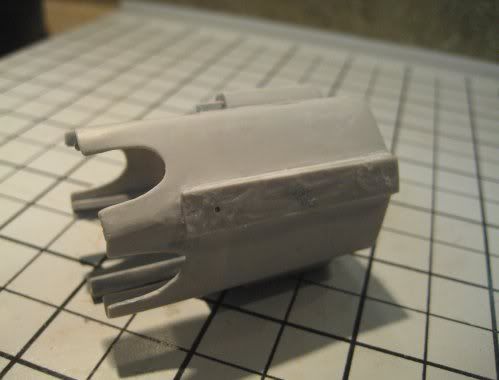
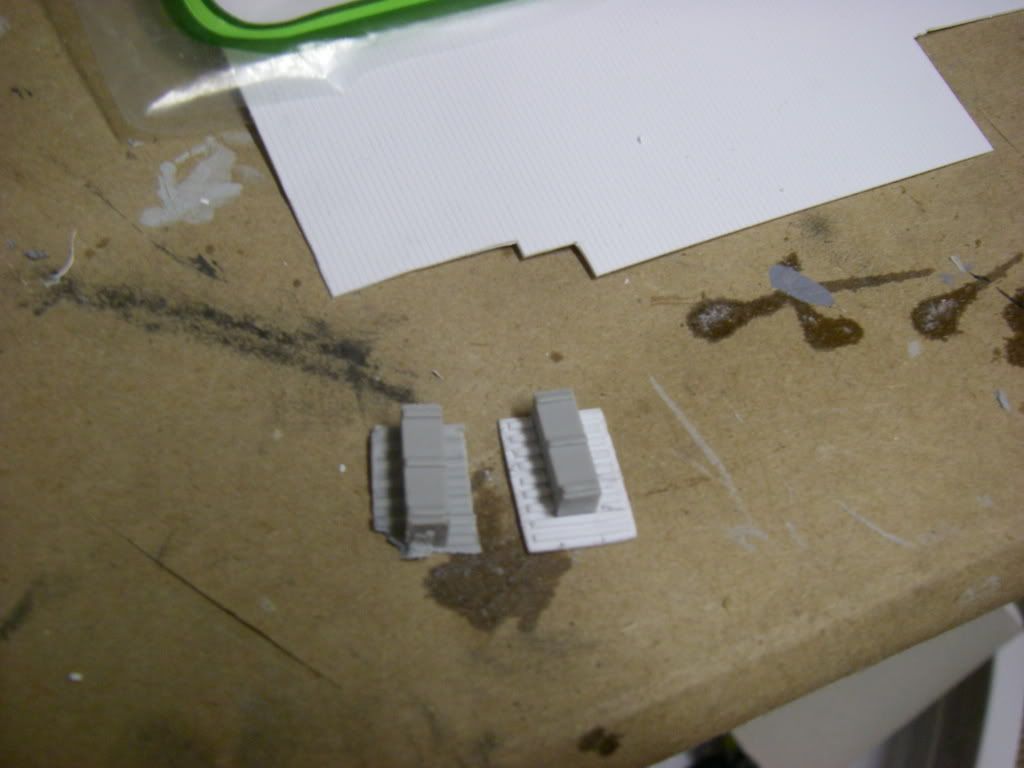
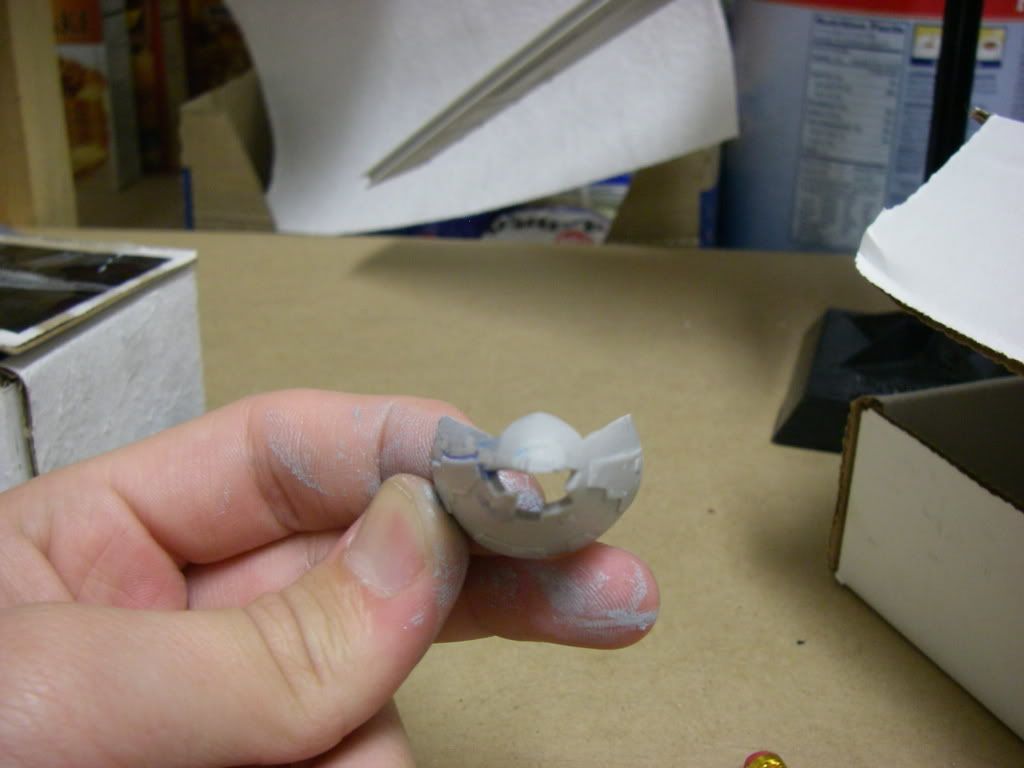
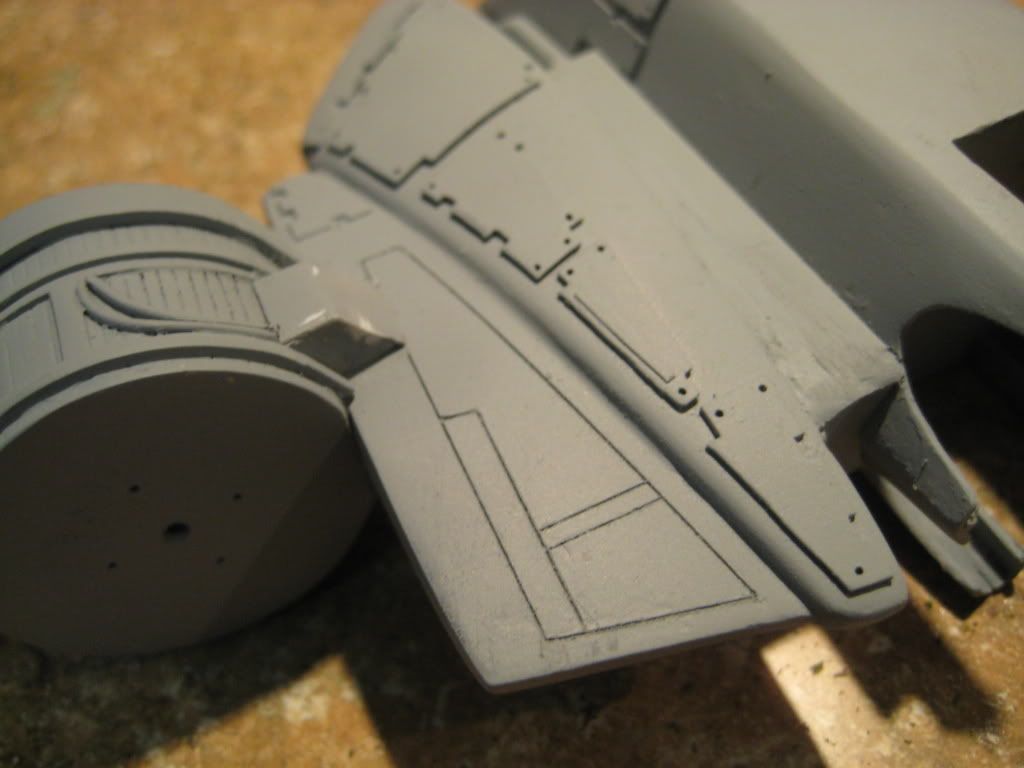
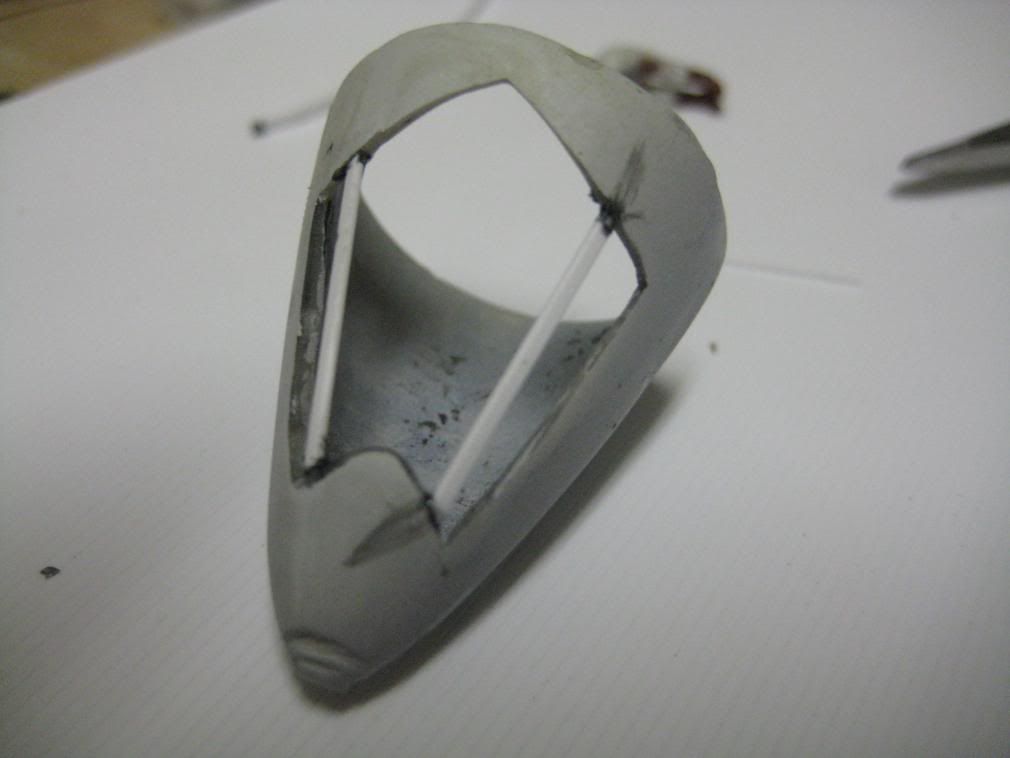
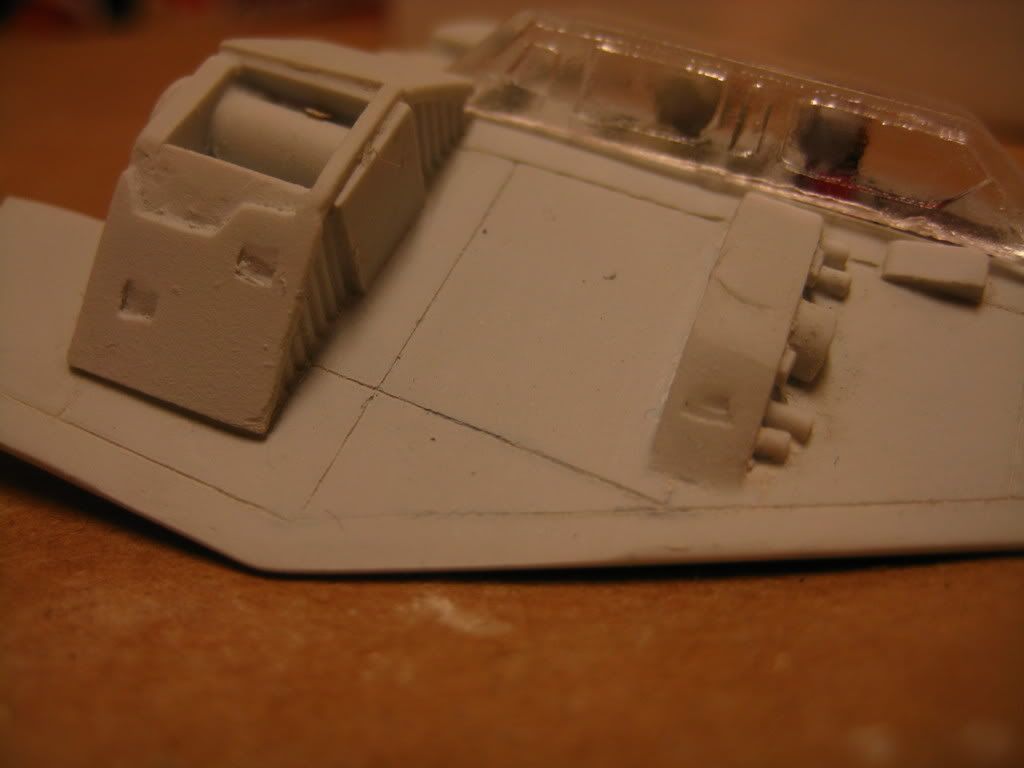
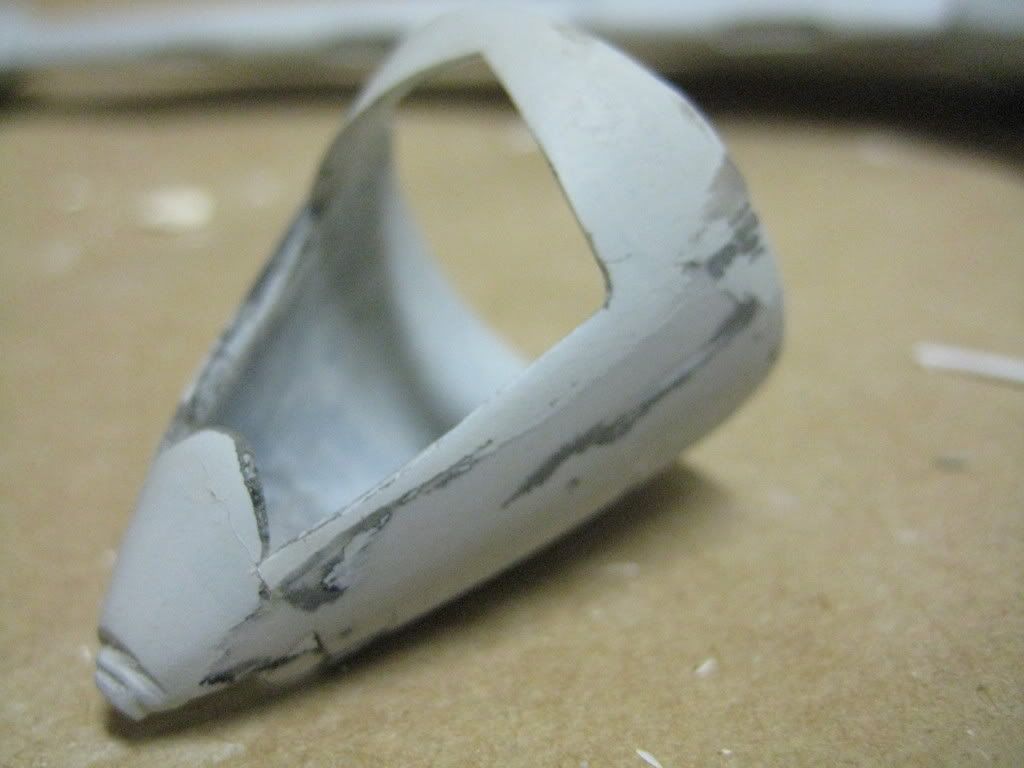
I also re-did this little detail piece in the back. I wasn't really pleased with how it turned out last time.


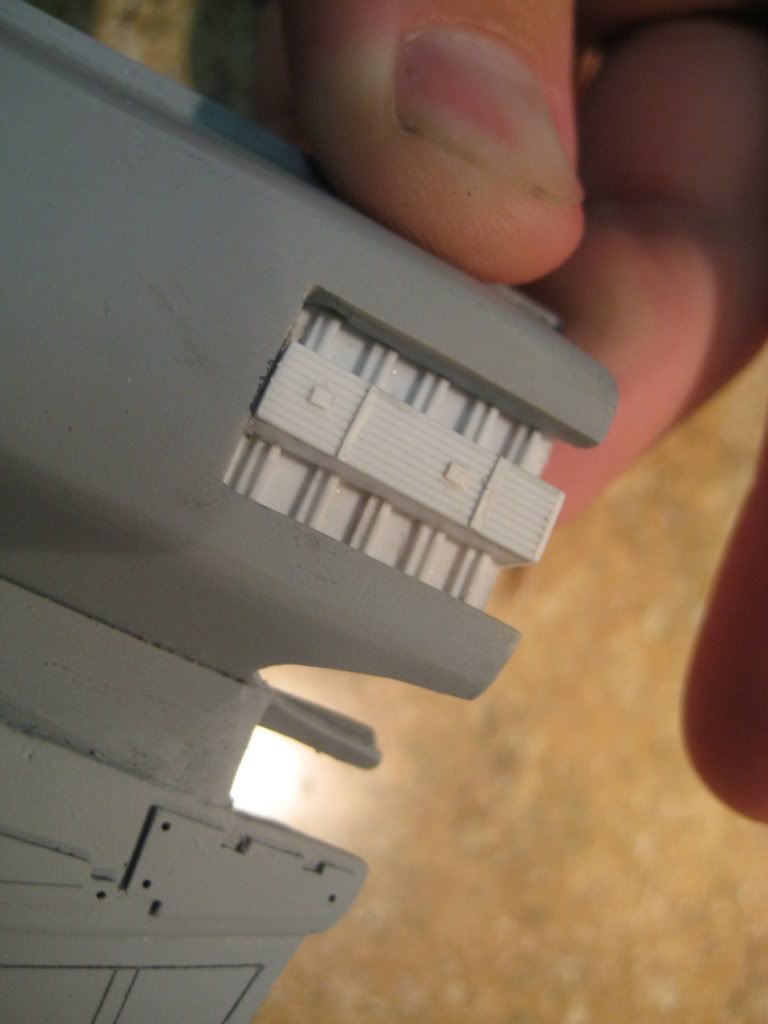
Hopefully I'll be able to post another update before Christmas

Friday, July 25, 2008

B-Wing, Sherman, and Tie X-1

Sorry about the lack of updates lately. I've been out of town for 3 of the last 4 weeks.

Anyhow, I got really sick of doing any sci-fi models for most of June so I decided I'd do something different - A 1/72 sherman! I know, I know. I didn't show the build-up. But I built it so quickly that I didn't really have time to.

It's not very well done, but this was my first armor model so I'm rather proud of it.


Next up is the B-Wing. Not much has changed on this one.

I got a little bit of work done on the cockpit.


I also got some work done on the rotating pod area. I completely removed it! The detail was just way too blobby looking for me so I'm going to be scratchbuilding the whole thing.


Although I don't have a picture of it, I added allot of armor to the other side of this piece.


I've started work on my 1/72 Tie X-1. So Far I've re-scribed some panel lines, replaced some blobby panels, and replaced the bottom of the cockpit pod.

Friday, May 30, 2008

Big Recap pt.3


I've also started a little bit of work on my T-47 Airspeeder. First just let me say that this overall is a pretty nice kit. However the panel lines were not up to my expectations in the slightest so I'm working on re-doing them. They still need allot of work but this is what I've done so far.


Big Recap pt.2

I've also started work on my Sci-High models Viper MK VII. This is a VERY nice kit! I don't need to even do any modification to it!
The canopy is going to be tinted with india ink and Future.

Just look at thost panel lines! They are the crispest I've ever seen in a resin kit!
Scroll down for pt. 1 of the recap

Big Recap


I apologize for the lack of updates lately. It was the last month of school and I haven't had nearly as much time to work on stuff.


I guess I'll start off with the B-Wing.

As you can see, I am going to replace the pieces that I removed here with thinner ones. I just didn't like how thick they were before.
I also replaced the panels on this part of the fuselage. Eventually I want to replace all of them. I also removed the terrible looking molded on piping that was on the bottom of this piece. It's looking allot cleaner than the last time I showed it.

To see the rest of the pictures of my B-Wing, go here http://s152.photobucket.com/albums/s195/ReeverTempest/B-Wing/


Monday, April 14, 2008

A-Wing

I've also got some work on my 1/72 A-Wing done.

I've had to sand the fron area a ton to make it thinner. It was way to round and bulbous (spelling?)

I've also removed the top detail around the back of the cockpit so I could accurately scribe this area. I also have puttied around the sides of the cockpit cause the panels there weren't very symetrical.

Woops... Recap


I fell behind again :( Anyways, here's the latest work.
I've removed most of the detailing on the main hull and have filled in allot of the innacurate panel lines. I still have a loooong ways to go though.


I've painted my Sullustian pilot and I've removed the canopy glass that I screwed up on. I still have allot of work to do in this area too.


In this area, I've filled in the recessed panels again so that I can add the accurate and raised ones.

Thursday, March 20, 2008

B-Wing work

Today I chisseled off the random details on the enging house on my B-Wing. They were very innacurate. The MPC kit was more accurate in this area! Now don't get me wrong... I love Mr. Wong's work and I believe he's up there with the modelling gods but he must not have been able to find enough reference for this part or something.
I also chopped off the head of my StudioStarforge Sullustian and put it on a rebel pilot.


Not sure if you can see in this picture, but my sullustian has a nasty bubble in his ear. I guess I'll be puttying him up a bit too. The other sullustian that came with the set had a bubble for a face. All the detail of the face was there but if it was touched then it'd cave in.

However... the rest of my StudioStarforge figures are top-notch and completely bubble free. I guess I just got some bad ones.

I got the magnet into the back of the cockpit today. The ugly pitted area will not be visible when finished. The magnet I used is VERY strong. I can hold it by the cockpit and the body piece won't fall.


Saturday, March 8, 2008

Cockpit Progress...

Tonight is just another quick update... I was trying to cast some clear parts tonight for my Slave 1 (which still isn't finished) so I didn't get allot done on other stuff.

I DID however get the cockpit of my B-Wing primed and glued in. Just needs a figure now :)


Once again... keep in mind that this cockpit is about the size of the top part of you thumb. It looks so much cleaner in person. (really not trying to brag...)

Friday, March 7, 2008

3/7 Y-Wing Cockpit

These pictures seem to bring out every little flaw. Keep in mind that this is TINY.

Sorry about the lack of updates. Been sick, then busy, then in california... ANYWAYS... Thought I'd show what's changed since the last update.

I've taken a quick break from my B-Wing AND T-16 (I always have about 3-4 projects going at once) Today's update show's the work on my Fine Molds Y-Wing cockpit. The figure is from Studio Star forge. It's VERY VERY nice! If you haven't bought a set yet then order one right now.

Friday, February 15, 2008

2/15 Nothing new to report...

I've been VERY sick for the last week with severe bronchitis. Not a fun experience at all. I've got the t-16 all puttied up and sanded so hopefully I'll be able to show some work on it once I'm feeling better.

Monday, February 4, 2008

2/5/2008 Nothing new to report...

Over the last few days I've only been working on my Fine Molds Slave 1. I REALLY want to get this done before the end of the week.
Today I received my T-16 Skyhopper from Fantastic-Plastic Models. This is a VERY nice kit :) I think I'll be able to knock this one out this weekend since it doesn't seem to need much work.

So it looks like it'll be around a week or so before I get another update on the B-Wing.

Tuesday, January 29, 2008

1/28 -- STILL Playing Catch-Up

Small update... Started drilling the rivet holes

I also did some work on the cockpit but I guess I didn't take any pictures.
Finally caught up... No update for the 29th though. I have work :(

1/27/08... Small update -- Still Playing Catch-Up

Today I finished the replacement piece that goes above the engines.
It fits very nicely. I might detail it up a bit more and then cast it for the other side.

First Project: Fantastic Plastic 1/72 B-Wing 1/26/08 -- Playing Catch-Up

On this piece there was a really bad stub from the resin that was nearly impossible to remove. I ended up just cutting the piece out and making one from scratch. (piece not finished in this shot)
On the main wing I noticed that many of the panel lines were drawn wrong compared to the reference images I had. Maybe there's another studio model with panels like this but I'd rather just make it how I want :)

In this picture you can see that the cockpit needed to be reshaped slightly. It was kind of lopsided and asymetrical. Once again, maybe this is how it's supposed to be, but I just want to make it how I like it. I only needed a little strip of styrene and some putty to fix this. Very easy

Monday, January 28, 2008

This is my bench...


Yeah I know it's a total piece of junk but it works for now. I should be getting a new permanent work area once we take all that food shelving out and move it to another wall.