Monday, September 7, 2009

1/72 B-Wing (Nearly Finished)

Lots of progress this last week. I did some painting and I've even got a bit of weathering done. Most of the weathering was done at the same time as the painting. I used to same salt technique that I used on the V-Wing for the chipped paint.


I also used some chalk to do some weathering here.


It's finally starting to look presentable! This is my favorite part of any model so I should be finishing up sometime within the next few weeks. I'm still struggling on how I'm going to do the guns though. They're holding me back a bit.

Sunday, June 28, 2009

1/72 V-Wing Finished

Well in all honestly it's been done for about a month but I've been too busy (or lazy) to take pictures and upload them.


Saturday, May 23, 2009

1/72 V-Wing - Painting

Well I've gotten allot of painting done this weekend. I did a nice looking chipped paint look on it so first I'll just show how I did it.


I started with a base of light gray, and then sprayed a mix of light gray and camouflage gray over that. Then I sanded some areas down so that both colors would show through.
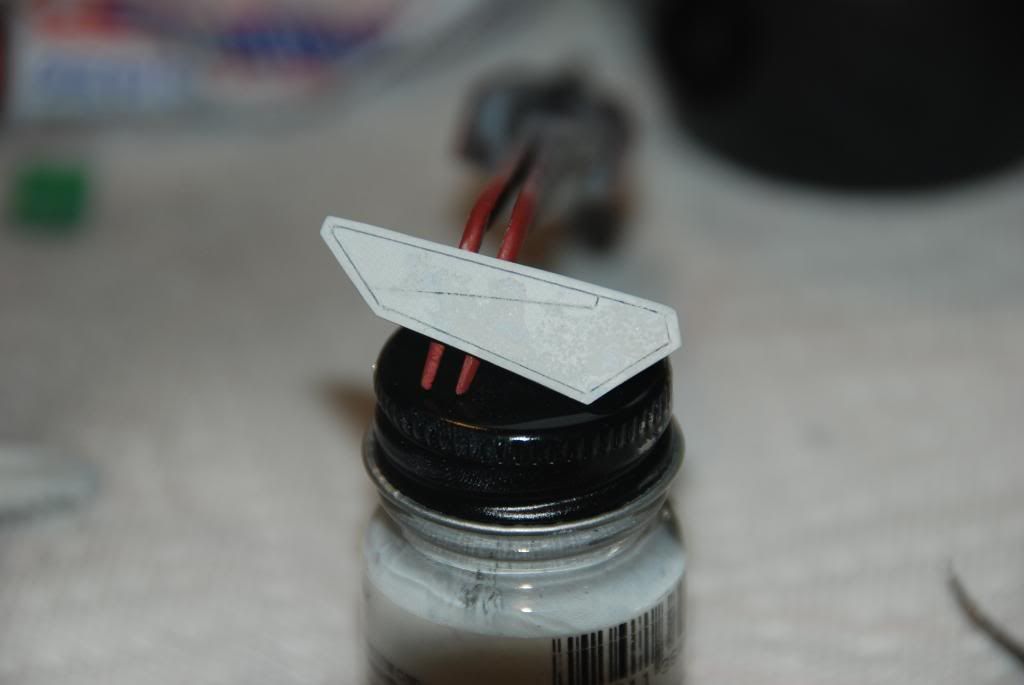
So now that I have the base, I covered it in a little bit of water.


Next I sprinkled some salt on it.

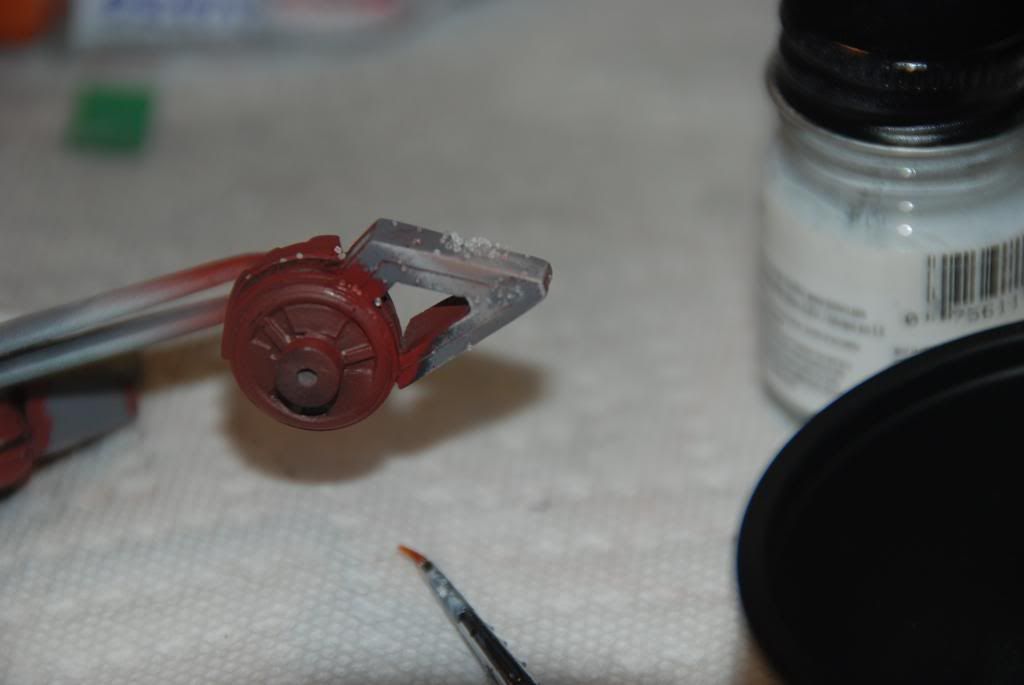
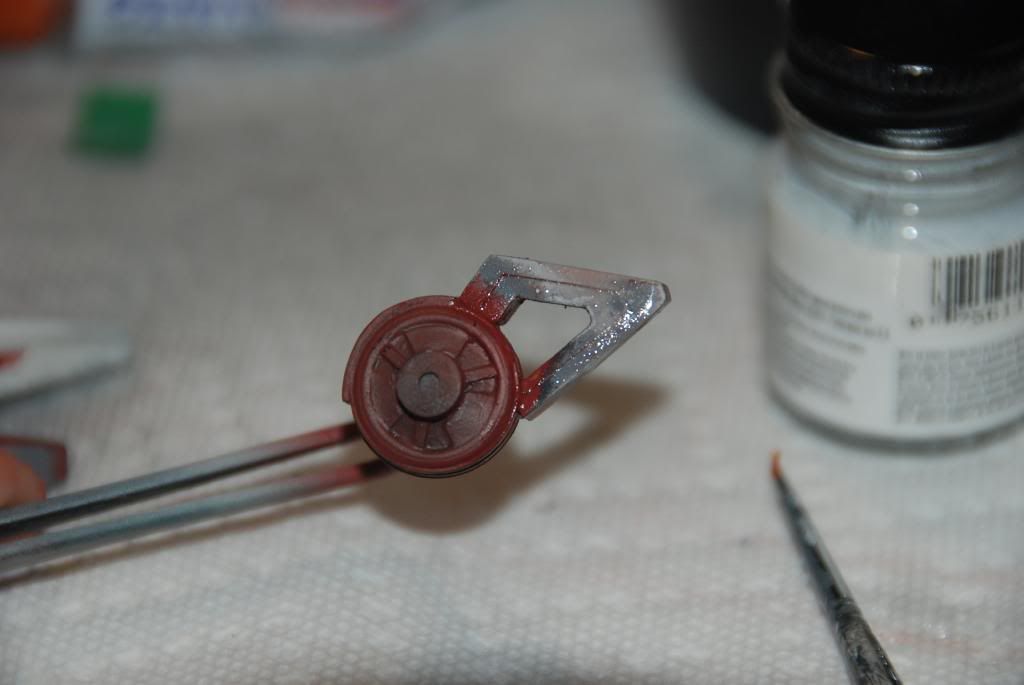
After letting it dry for a few minutes, I painted it with Testor's British Crimson. It's important to spray it from 6 inches to a foot away so that you don't blow off the salt. You get allot of overspray doing this so make sure you don't have anything in the area that you don't want to get paint on.

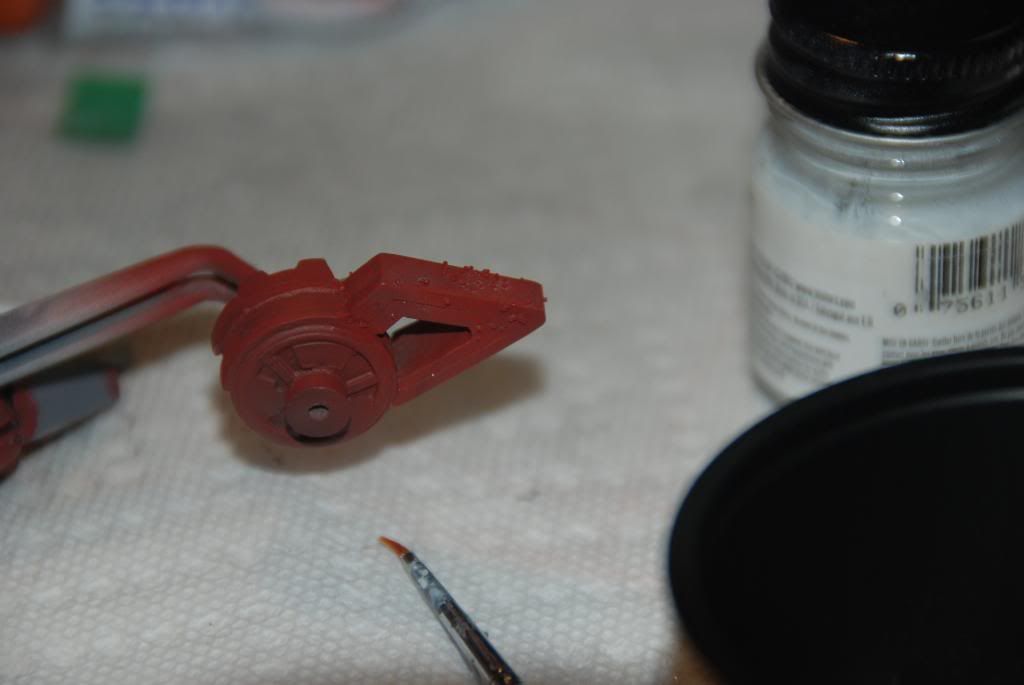
After it dries, rub off the salt. On this piece I rubbed it off kind of roughly so it took off more paint.

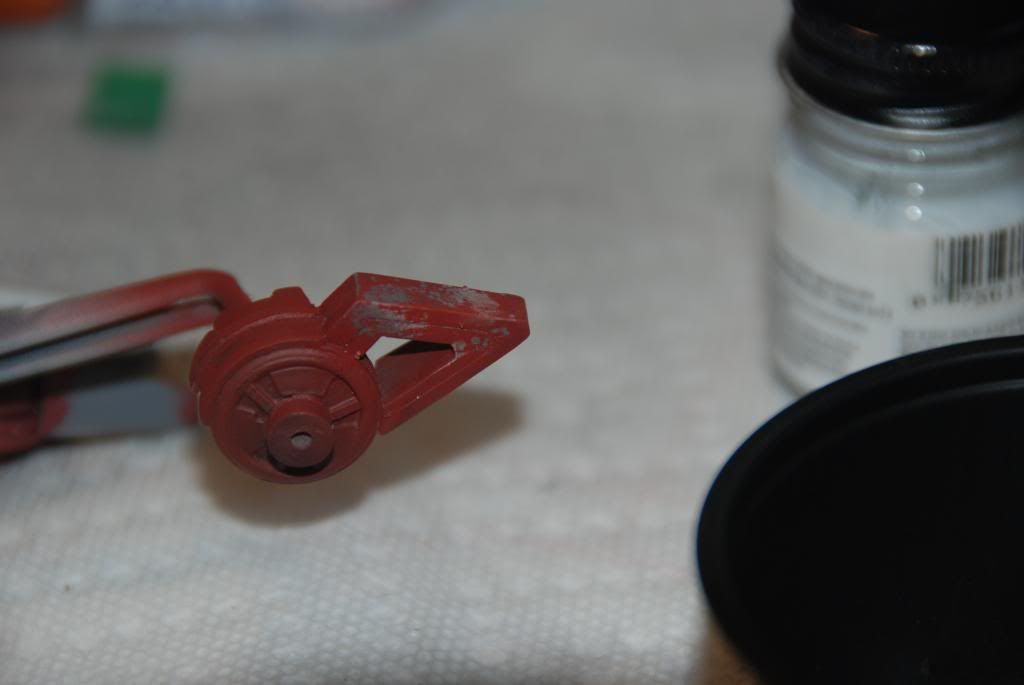
With this piece I rubbed it off gently so it's not as chipped looking.

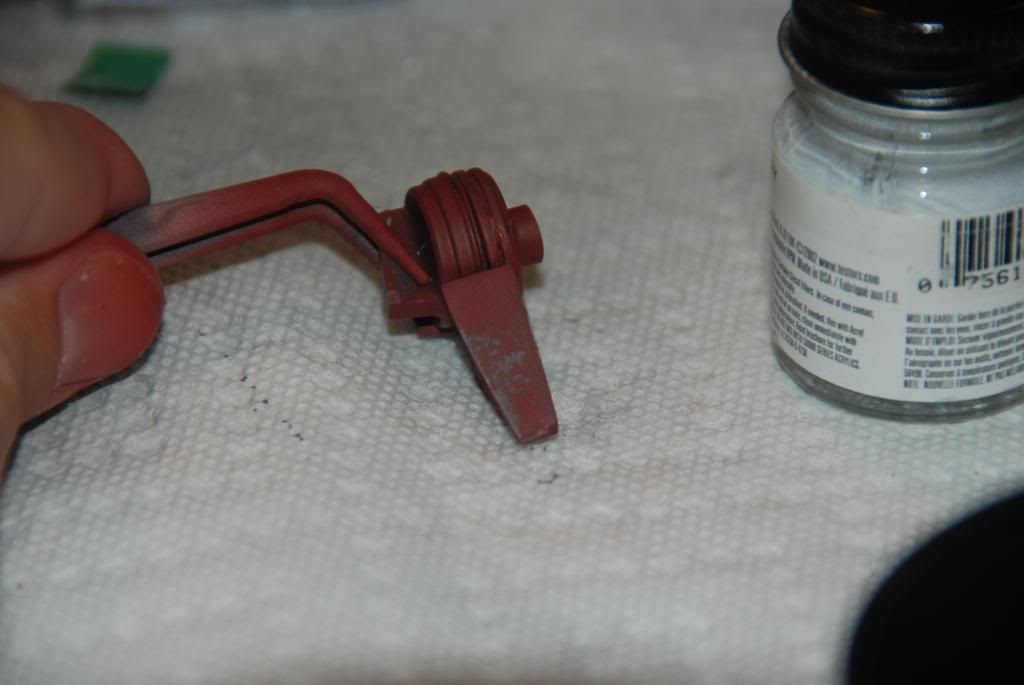
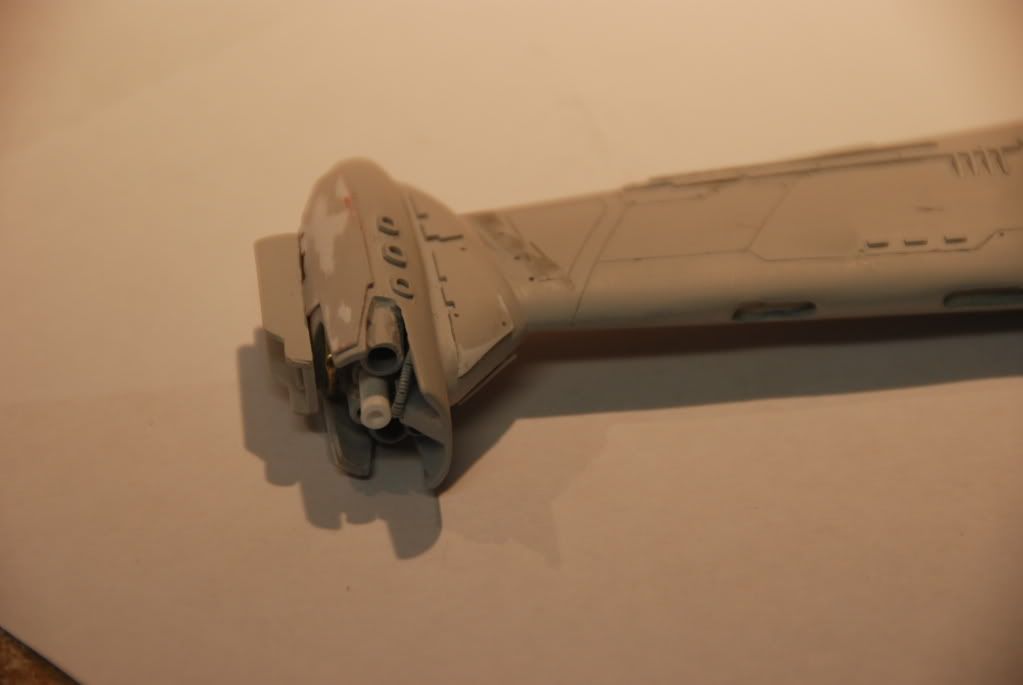
I used the same technique here.

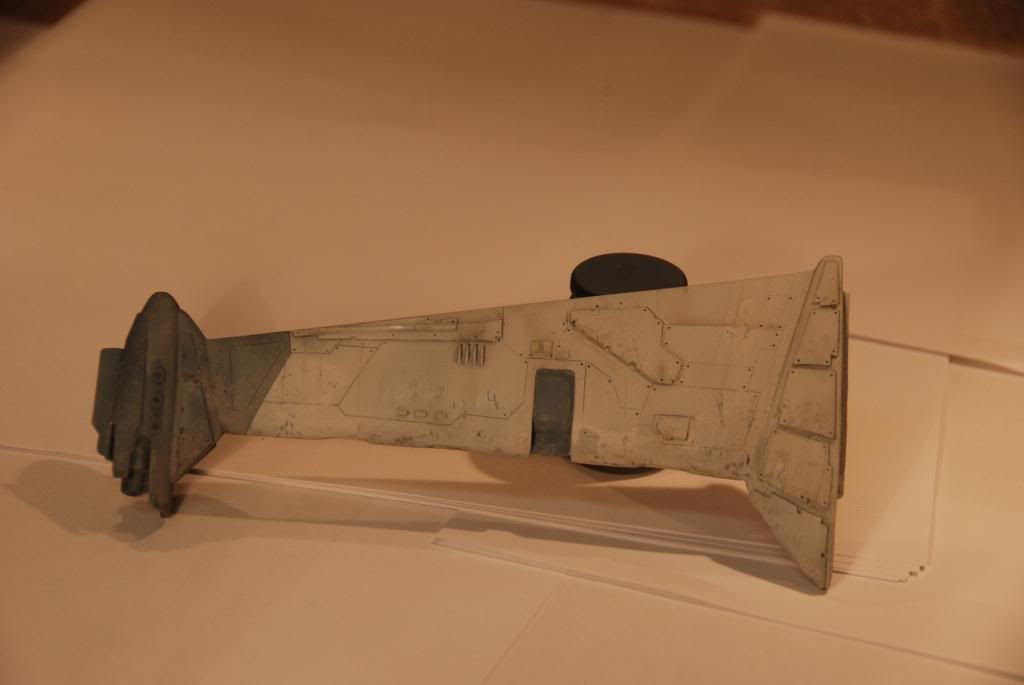
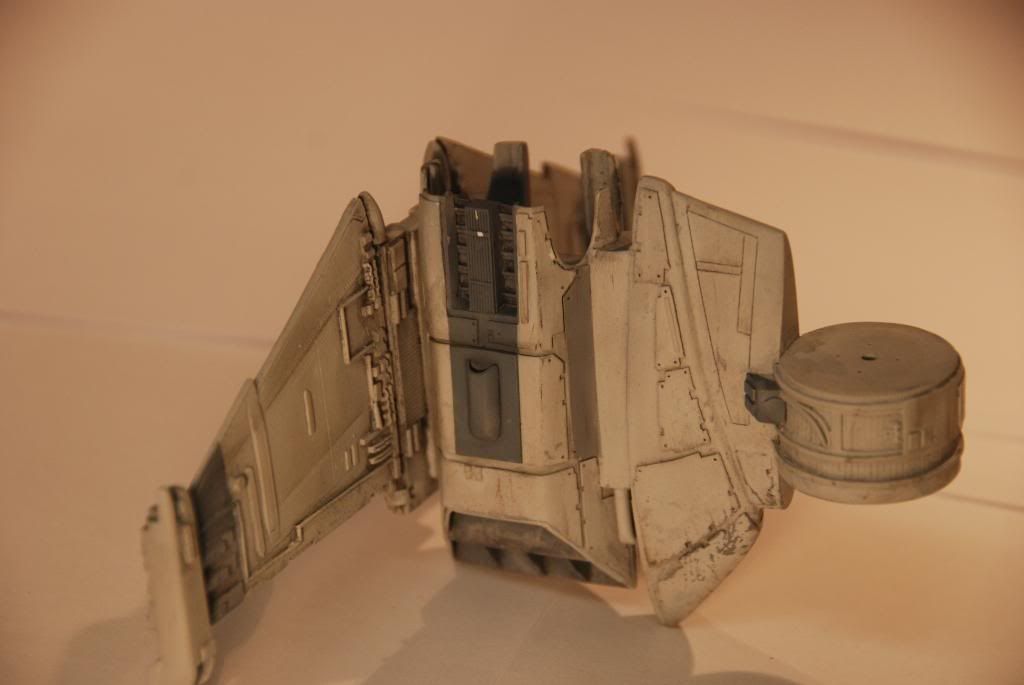
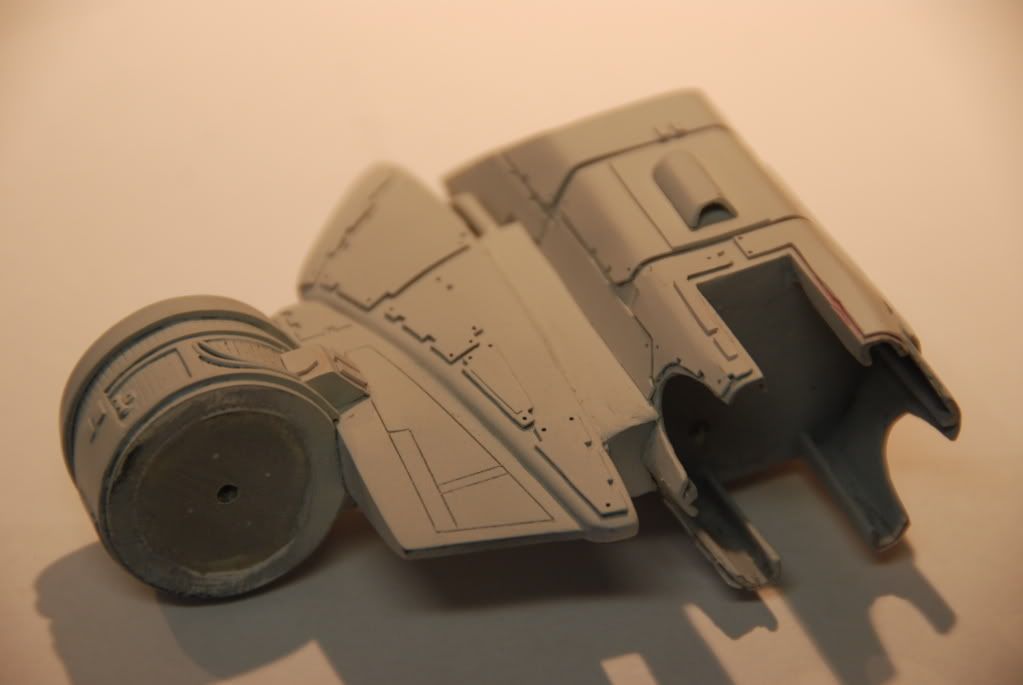
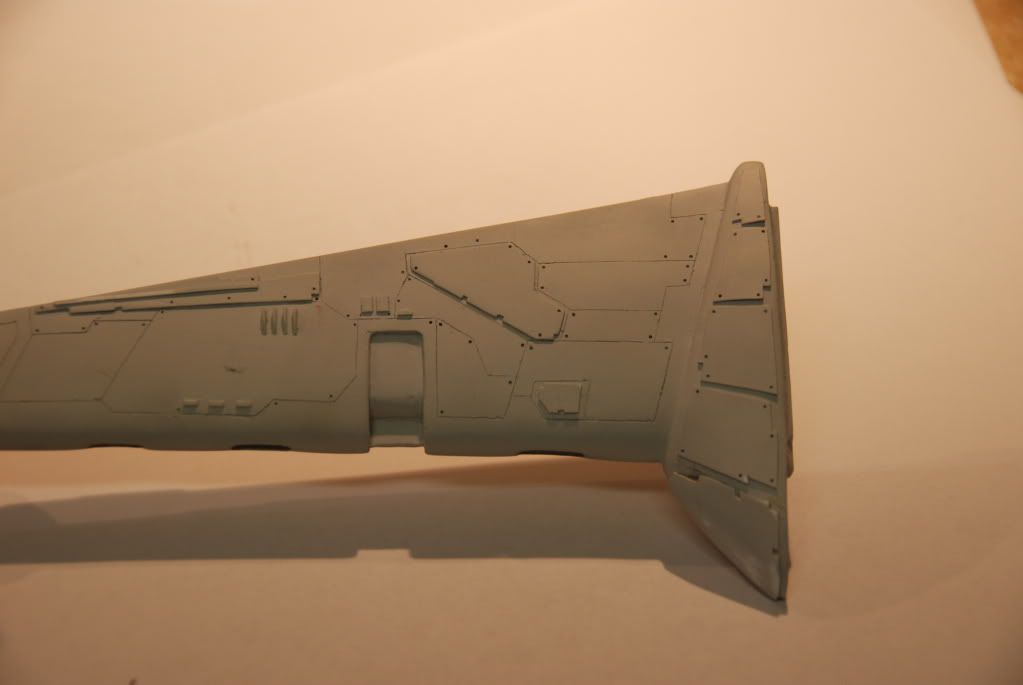
I did the same technique again for the main hull.
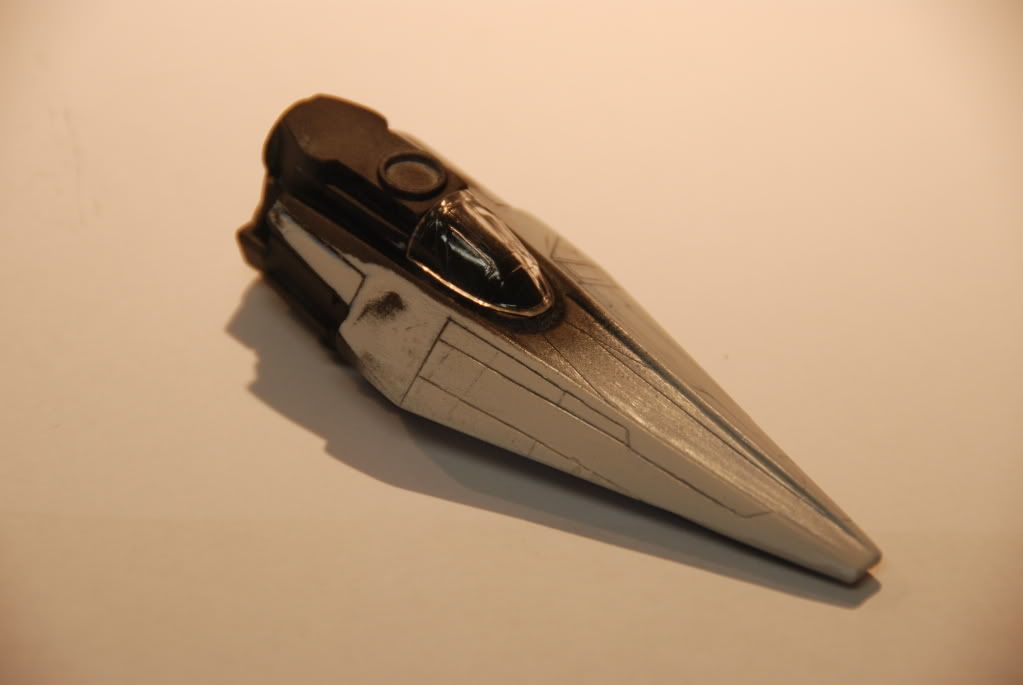
For the gray part, I use the same technique but with light gray underneath and a mix of light gray and camouflage gray on top. The streaks are where i hit it with the end of a paintbrush with dry dark gray paint on it.

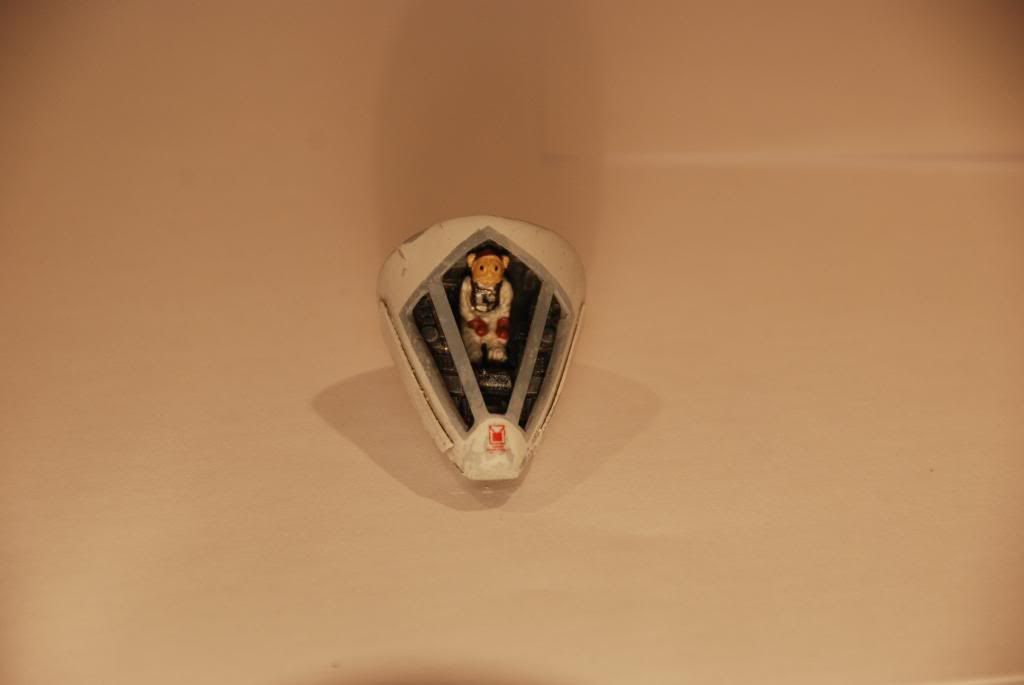
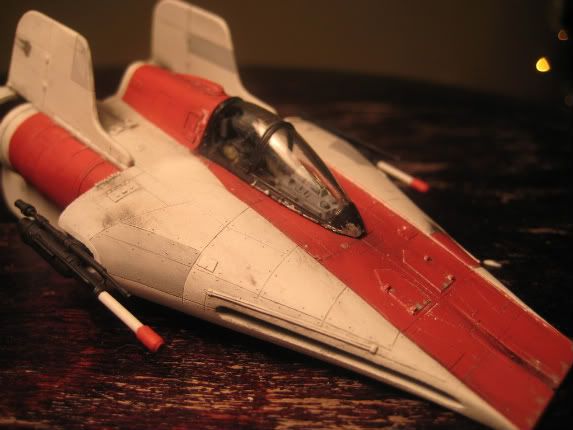
I also got the canopy painted.

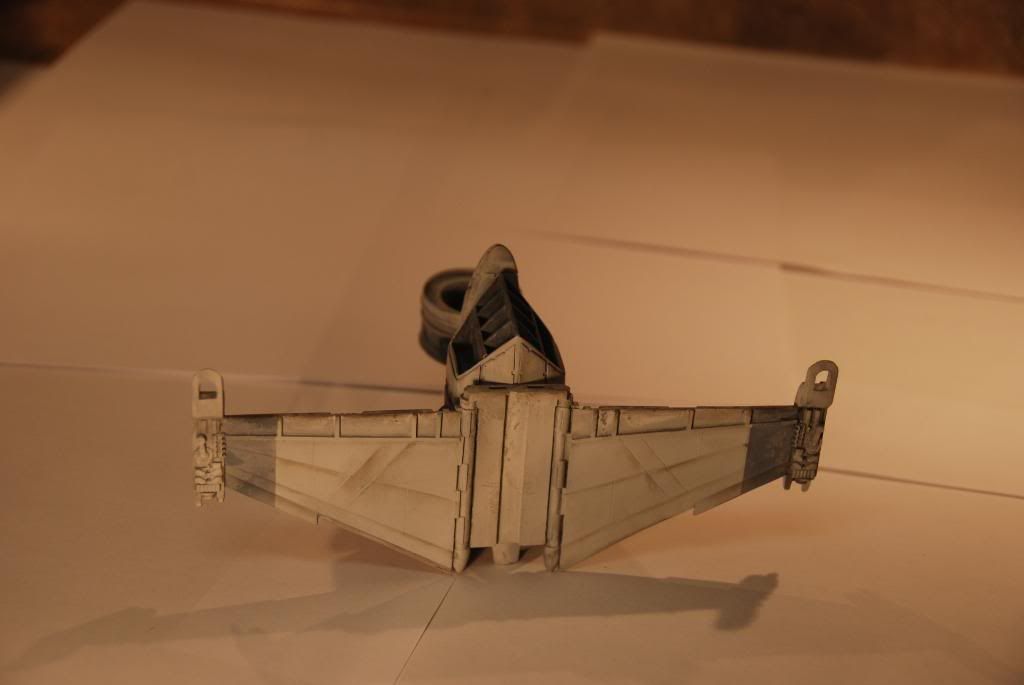
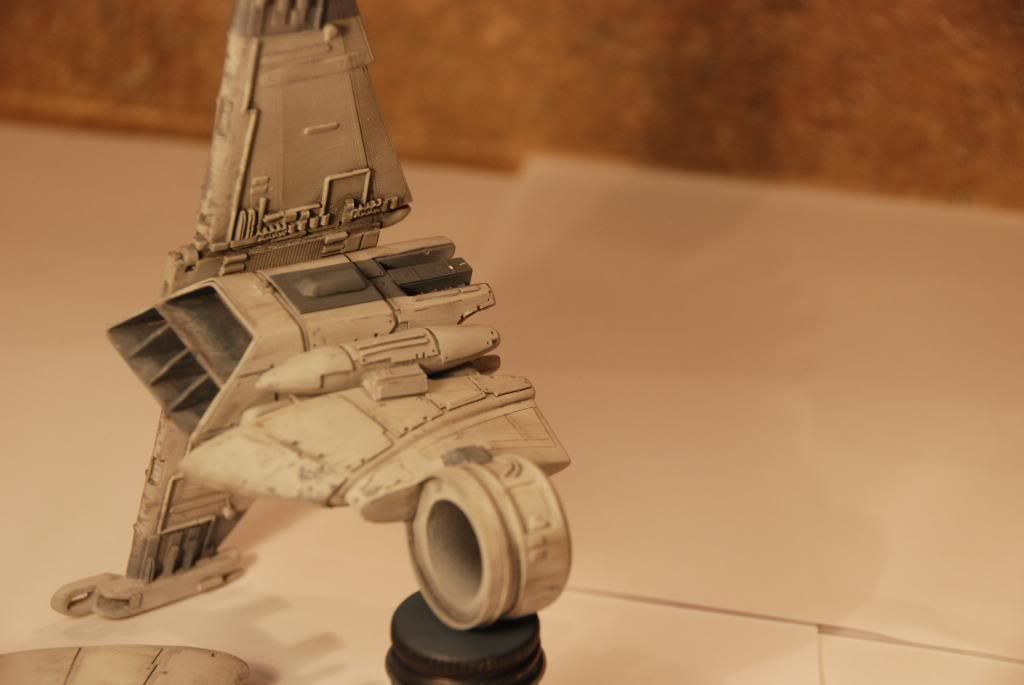
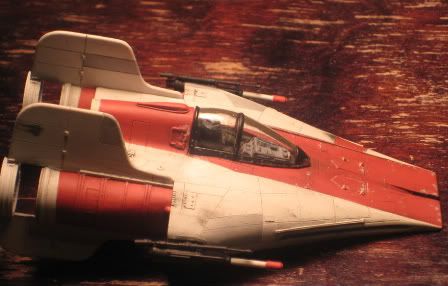
Roughly held together.

Compared to the last V-Wing I did... Embarrassing

I still have some more painting to do but I should have another update on Monday.

Monday, May 4, 2009

5/4/09 1/72 B-Wing & 1/72 V-Wing

School has had me busy for the last couple of months but during the last two weeks I've finally had some time to work on stuff.

I got my V-Wing kit this last week. The panel lines were pretty bad so I've started to re-scribe them.

The cockpit canopy glass was also kind of foggy due to the master being primed so I polished it up a bit and dipped it in Future.

I've continued work on my B-Wing. This piece is getting very close to being done. I'll be doing some more clean-up and then I'll move on to painting.


I've started some rough work on this end.

This area is gettign pretty close to being done as well. I added the last bits of armor plating and now there's just a little bit of clean-up left.

Friday, January 16, 2009

1/72 RB26 A-Wing & FP A-Wing

This project was so quick that I didn't even have time to think about taking pictures! I got this lovely little kit done in less than 2 days and I enjoyed every second of it.
This is NOT the Fantastic Plastic kit.

Sorry, I know these pictures are terrible - They don't show the details off very well.
This kit has ALLOT of very small subtle details and the casting is amazing! Possibly the best resin kit I've ever seen.
The sloppy dark gray area is completely hidden when the canopy is on. I figure, why mask it if it's an area that won't be seen?

In other news, I finished re-scribing the bottom of the B-Wing and next I'll be detailing it up. I'm hoping to have it 100% done by April. (I work at a very slow pace)

Also, I picked up REL's 1/72 Clone Wars Y-Wing and have cleaned it up a little bit. I'm very excited to get started on this kit! It's a real beauty.